“Candy cabinets.” It’s a catch-all English term to refer to Japanese-style sit-down arcade cabinets where you can fairly easily switch the games contained within. There seems to be a bit of speculation as to where the term came from… though I’d wager the most obvious source is the Neo Candy cabinets, which commonly housed Neo-Geo MVS units.
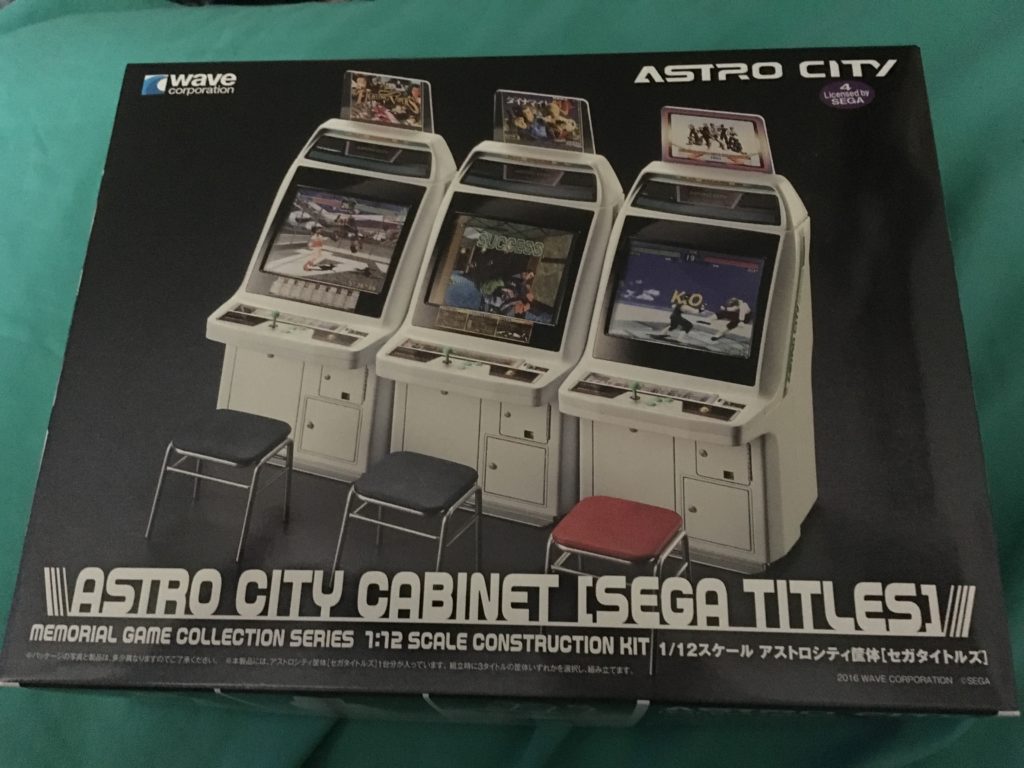
There are a lot of different models of “candy cabs” out there, but to many, the de facto candy cabinet is the Sega Astro City, a model you’ll still see around many a Japanese arcade in this day and age. Countless matches of Virtua Fighter 2 were played on these machines back in the day, and their versatility and adaptability have made them a popular choice for retrogaming setups to this day.
Yes, the Astro City is practically synonymous with arcade games to many Japanese arcade fans. Which is why we all exploded with glee when we found out that model maker Wave, who had previously made replicas of modern Vewlix cabinets and the riding Hang-On cabinet, was going to make an Astro City model. This was gonna be great!
And yes, it is a pretty spectacular kit! It’s not too tough to build for the beginner, but offers a lot of potential for customization if you really, really want to create the miniature arcade machine of your dreams. In my case, I wanted to put a very particular game inside one of these cabinets. But I wanted to build it together with you, my dear readers – and that’s exactly what we’re going to do today!
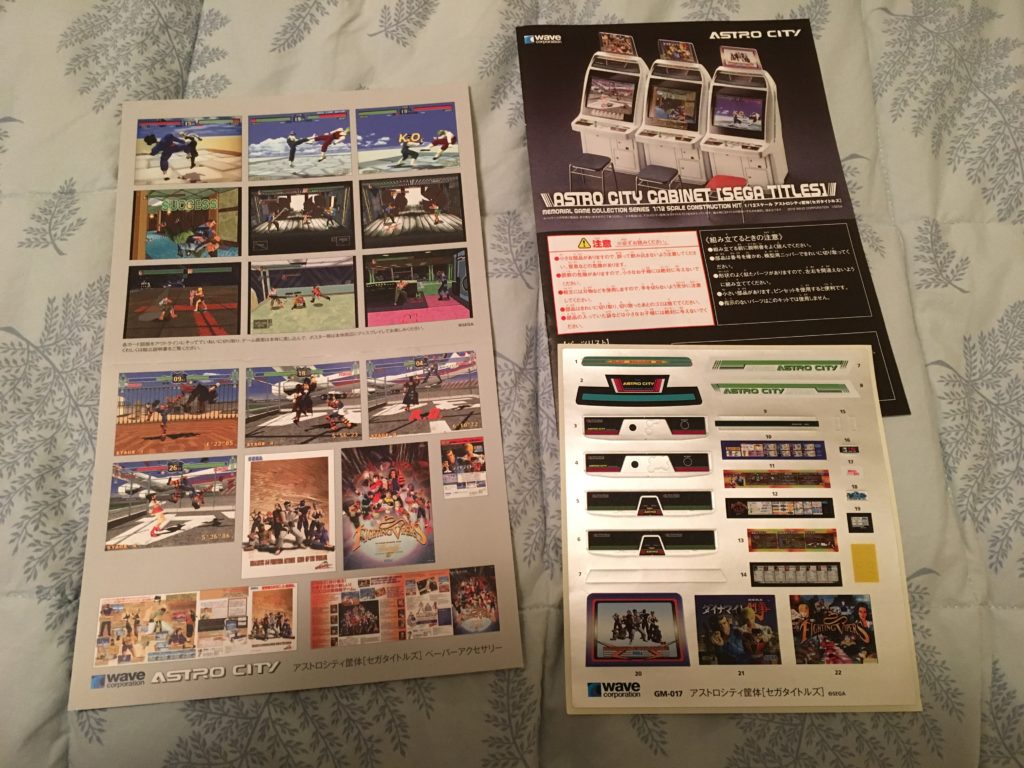
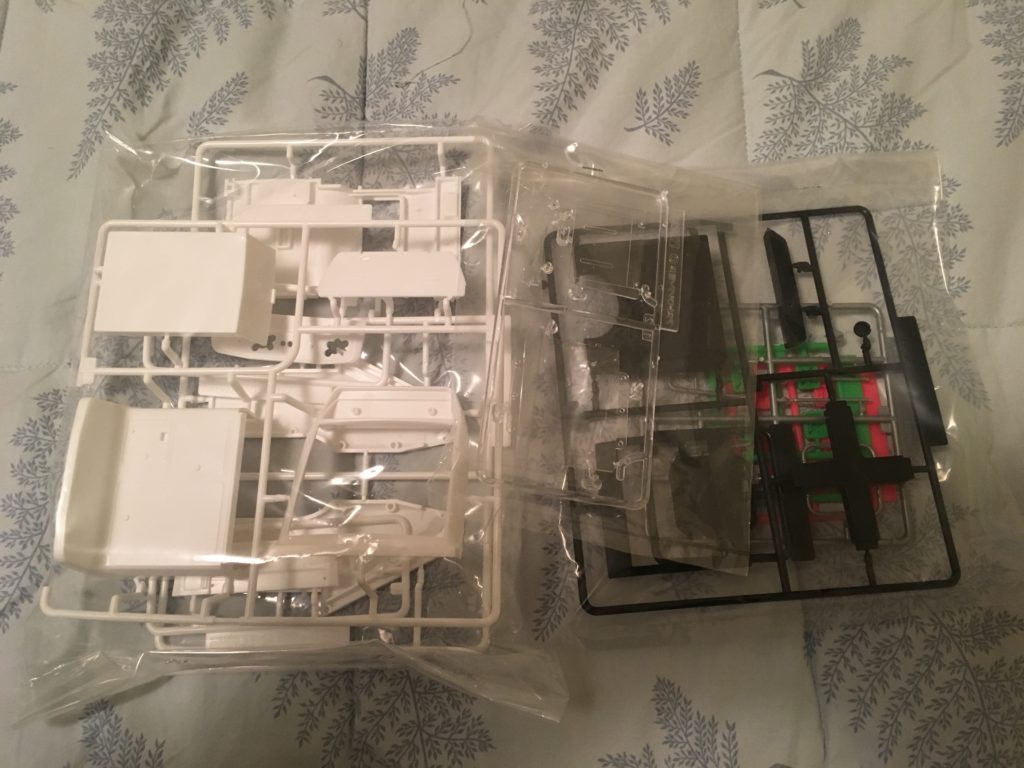
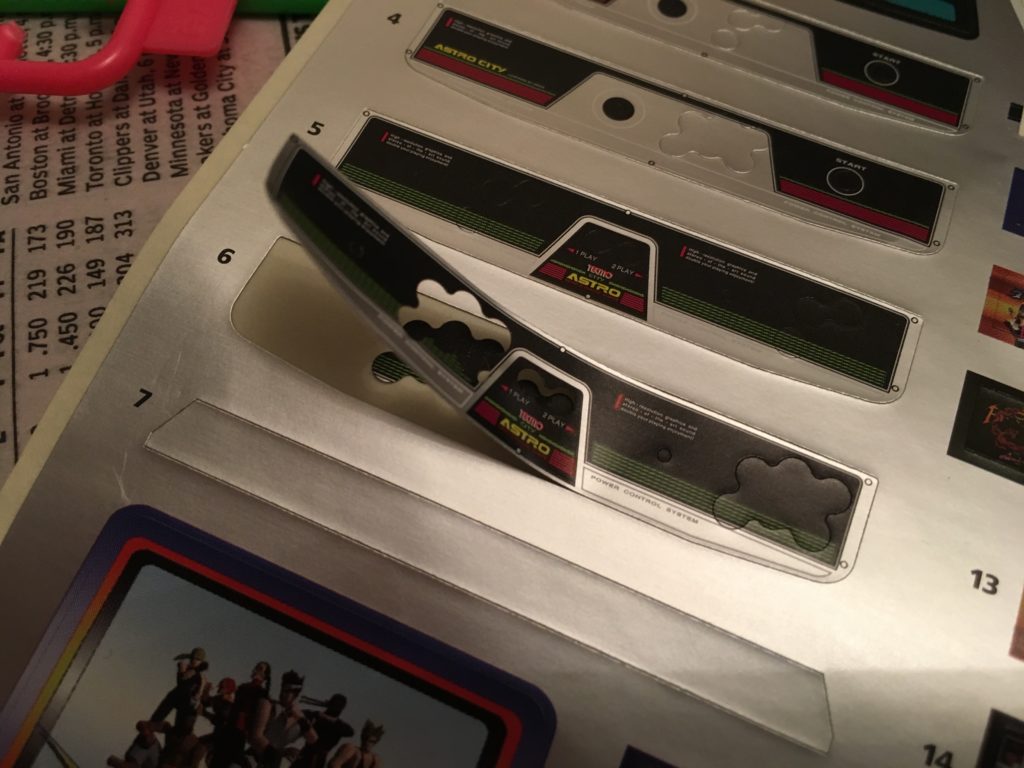
Alrighty! So here’s everything that comes in the box. We got plastic, we got instructions, we’ve got decals… and we’ve got a sheet of screenshots, posters, and pamphlets, all properly sized, so that we can turn this Astro City into one of three games: Virtua Fighter, Fighting Vipers, or Dynamite Deka. It’s important to note that while the game instruction sheets and marquees are sticker decals, the screens are not, so you’re going to want a nice firm surface to do some cutting on if you’re going to use them.
For this particular build, however, we’re actually going to be doing some custom stuff. I’ll get to that in a bit.
(By the by, something odd I noticed — while the kit mentions Virtua Fighter on the box and contains screenshots and posters, nothing has the actual Virtua Fighter logo on it — in fact, you can see where it’s Photoshopped out if you look closely. Weird, huh? Must be some odd rights thing.)
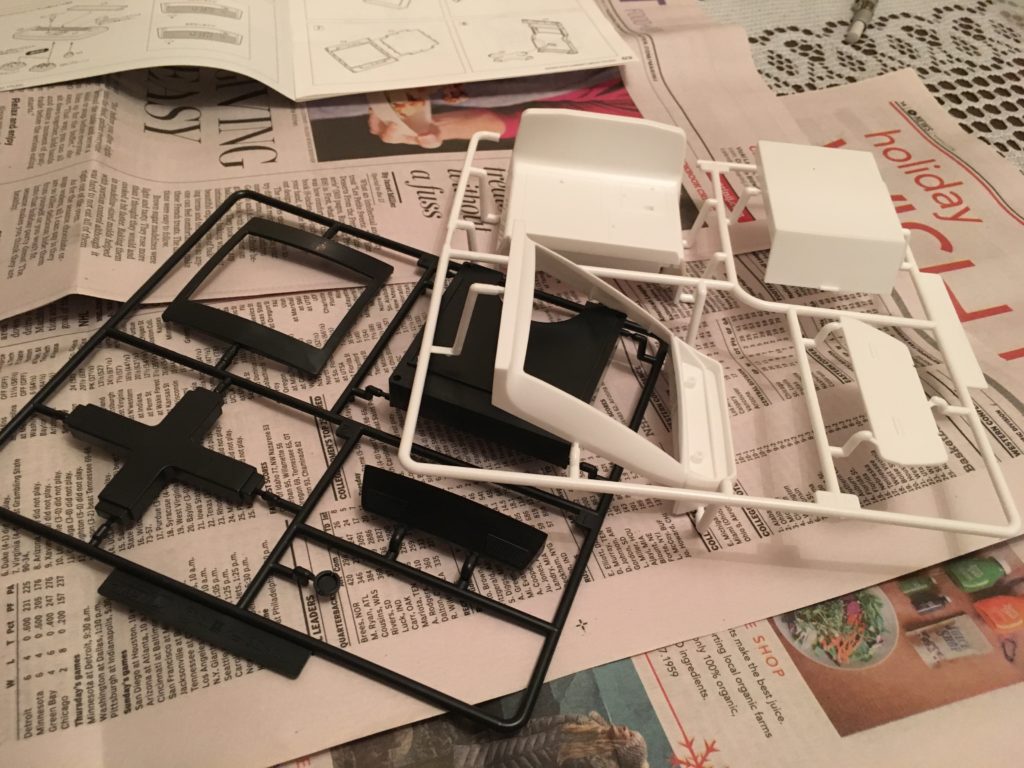
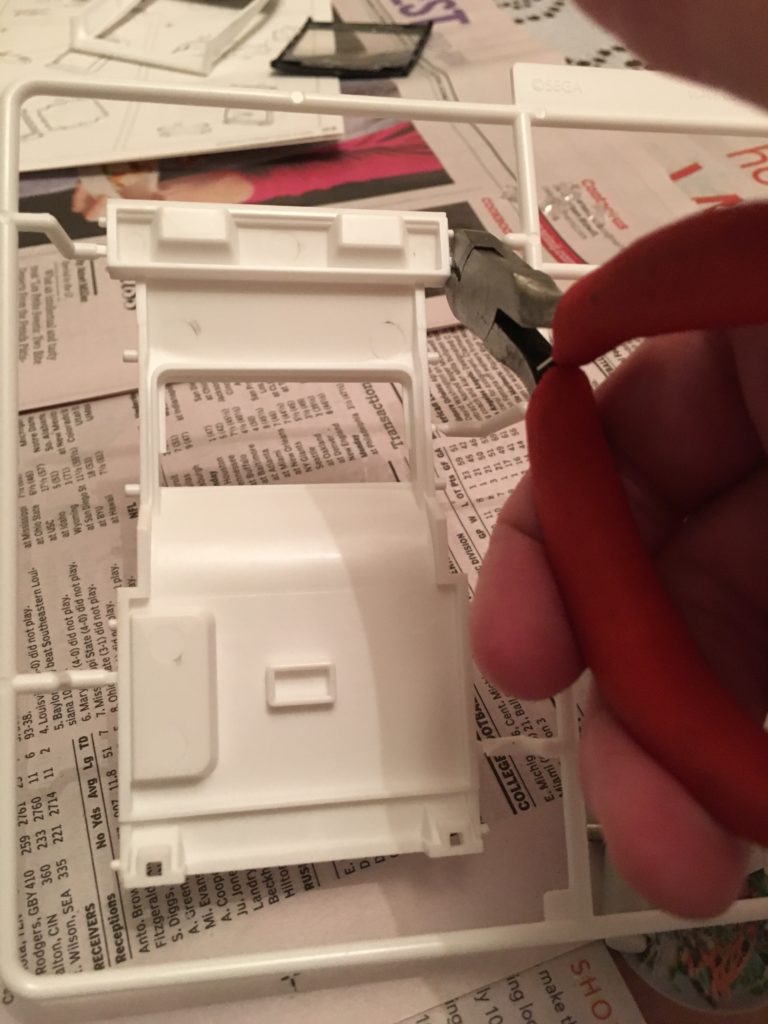
Righto, let’s get this started. This is a pretty simple kit, all things considered, but you’ll still want the usual plastic-model-building gear: nippers for cutting parts off the sprues (don’t just yank them off!), fine sandpaper and/or an Xacto knife for getting rid of excess plastic. Honestly, sandpaper’s probably overdoing it for this one – it’s mostly white, so places where the plastic was attached to the sprues won’t stand out as much.
The instructions say you should start with building some of the smaller bits, but I think it’s better to get the big parts out of the way first.
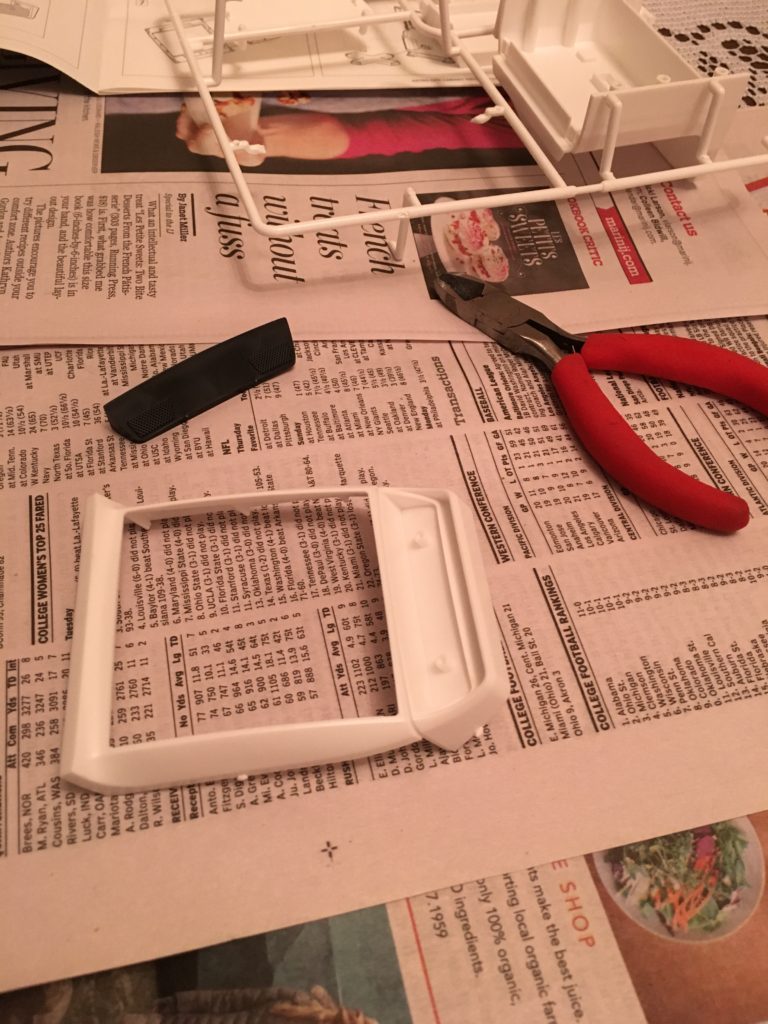
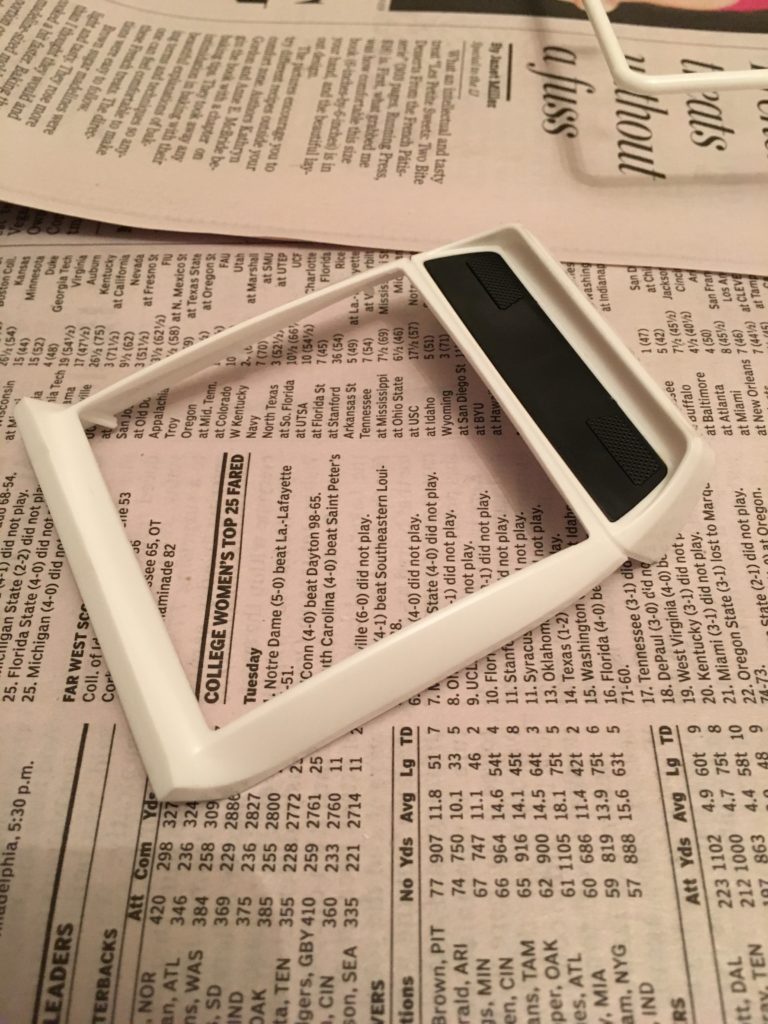
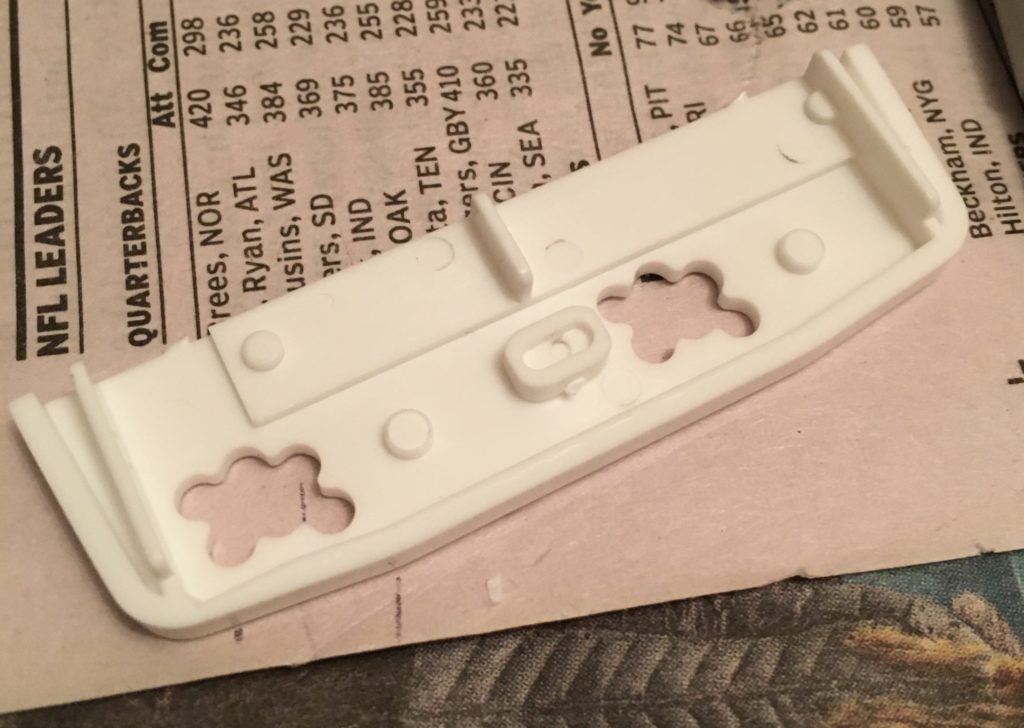
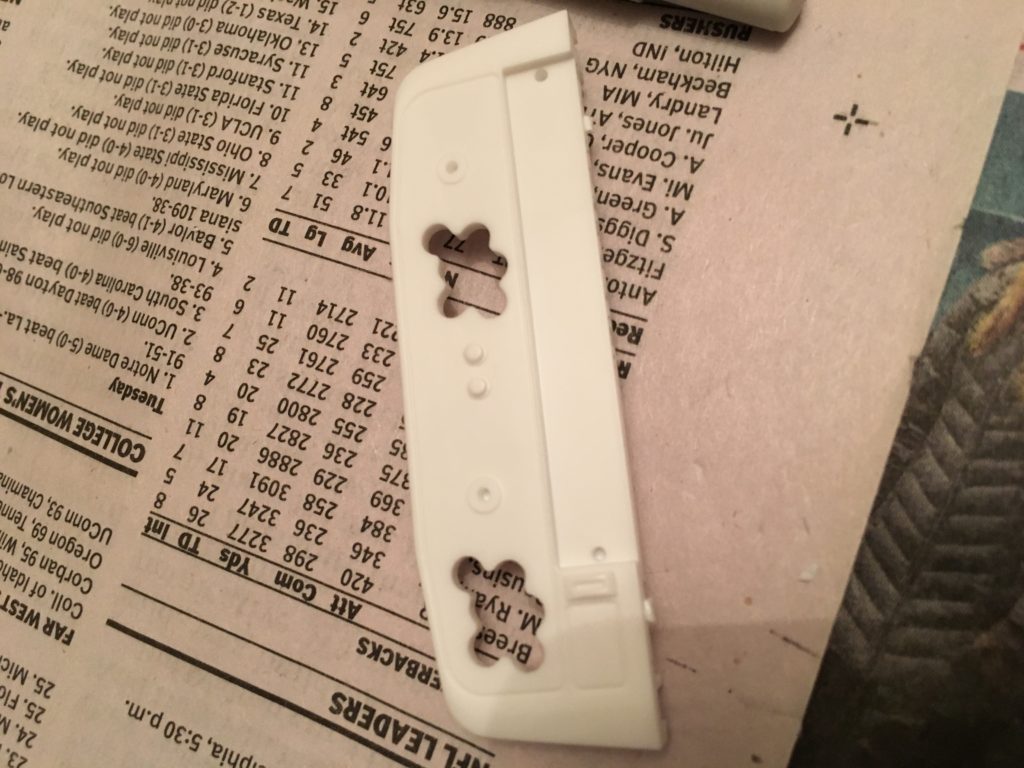
Let’s start off with the monitor panel. You’ll need to pop the part containing the speakers into the top portion of the panel. It can actually be a little tough to fit if there’s any leftover plastic from the sprue, so put that Xacto to good use and get it nicely trimmed down first!
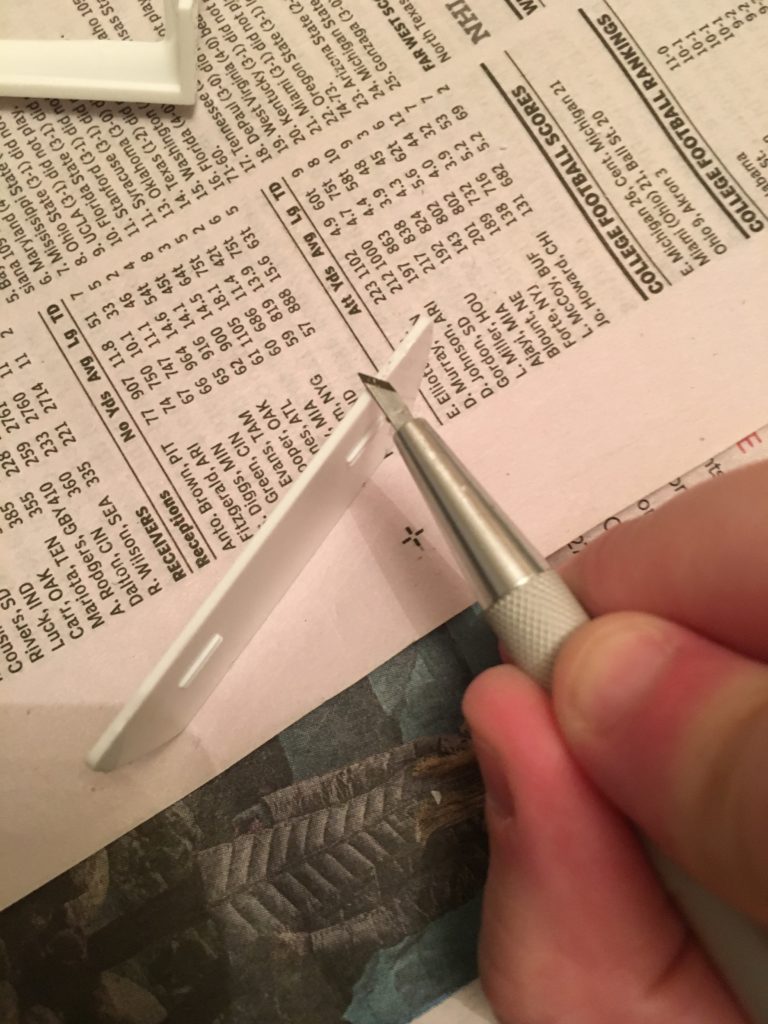
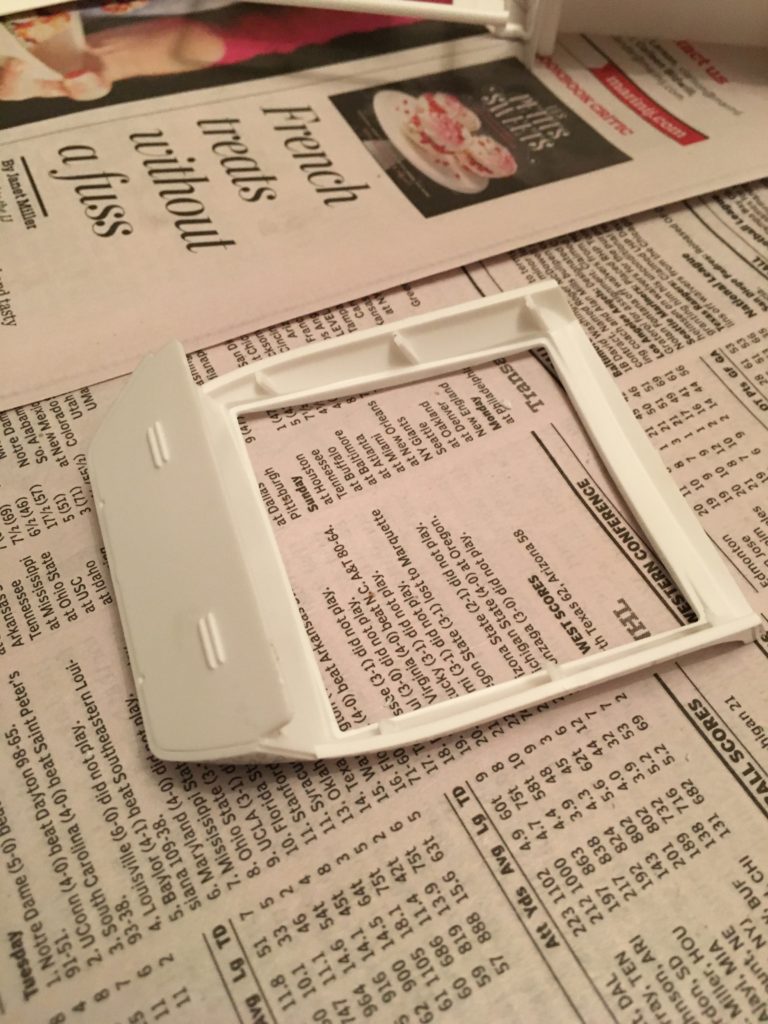
There’s a small, flat piece that slots into the back part of the monitor panel. Again, you’ll want to make sure you trim the leftover plastic off the sides to ensure a proper fit. Always scrape away from yourself for safety!
Looks good so far! But we still need an actual monitor…
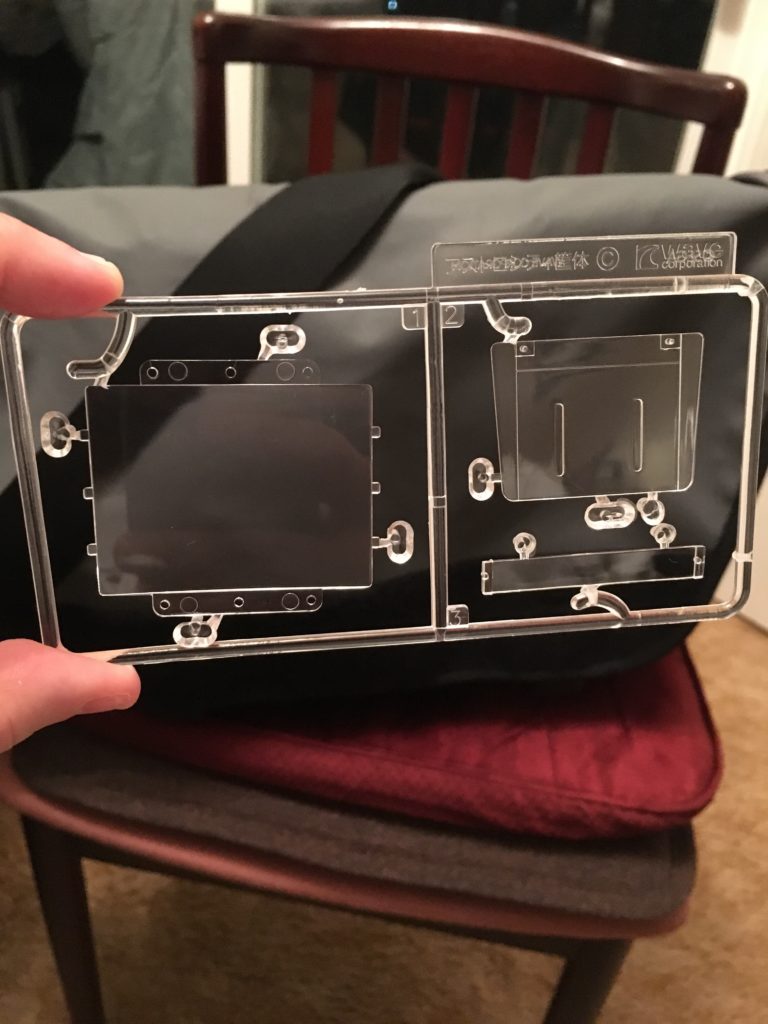
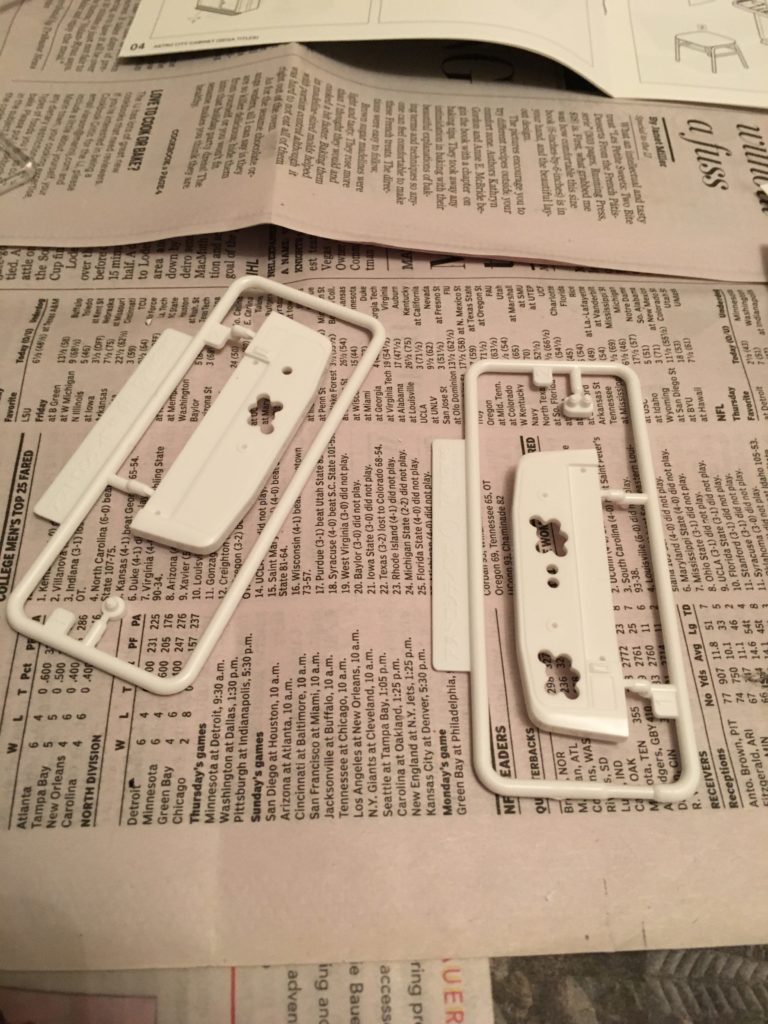
Here’s the sprue with all the clear parts used in the model. One thing to keep in mind is that translucent plastic tends to be more brittle, so if you cut the connecting bits too close to the pieces, there’s a risk of the plastic cracking and ruining their appearance. I suggest cutting them off from the sprue from the outer rim, then trimming carefully from there to lessen the risk of some unsightly crackage.
Anyhow, let’s get that screen part ready!
So now we’ve got the screen (which, though it’s a smidge hard to see, still has a good chunk of leftover plastic on its upper right side I’ll be gradually snipping off) and the black inner paneling that will surround it. See those holes and little “teeth” along the sides of the screen? Those will help us fit it into the back of the black bezel.
Like so!
Now it’s time to build the sides and back of the cabinet. Fortunately, this is pretty easy to do. Just gotta carefully cut this stuff off…
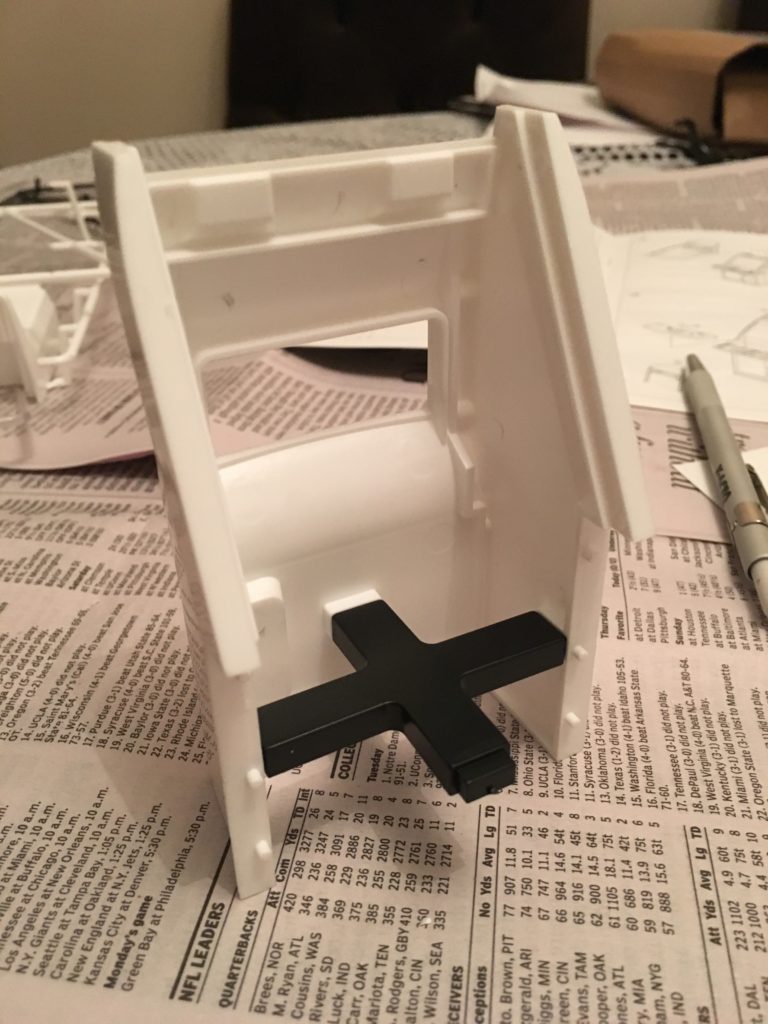
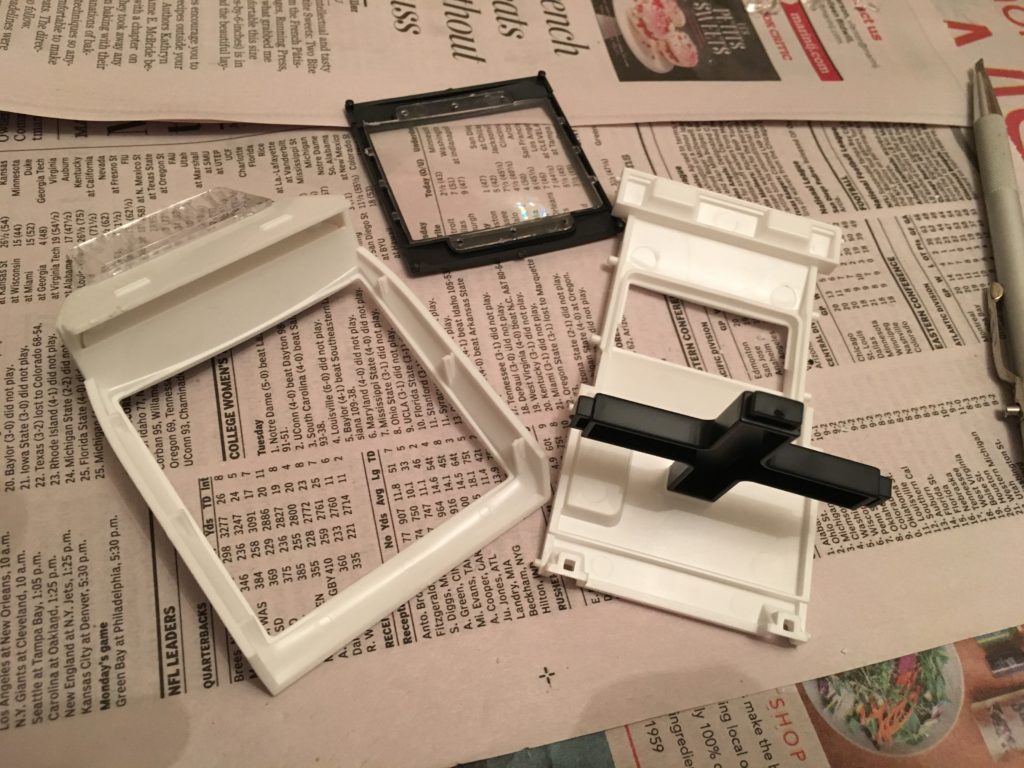 See that black cross-shaped piece we just slotted into the cabinet back? It’s very important — it holds this thing together. You’ll want to set it up right now.
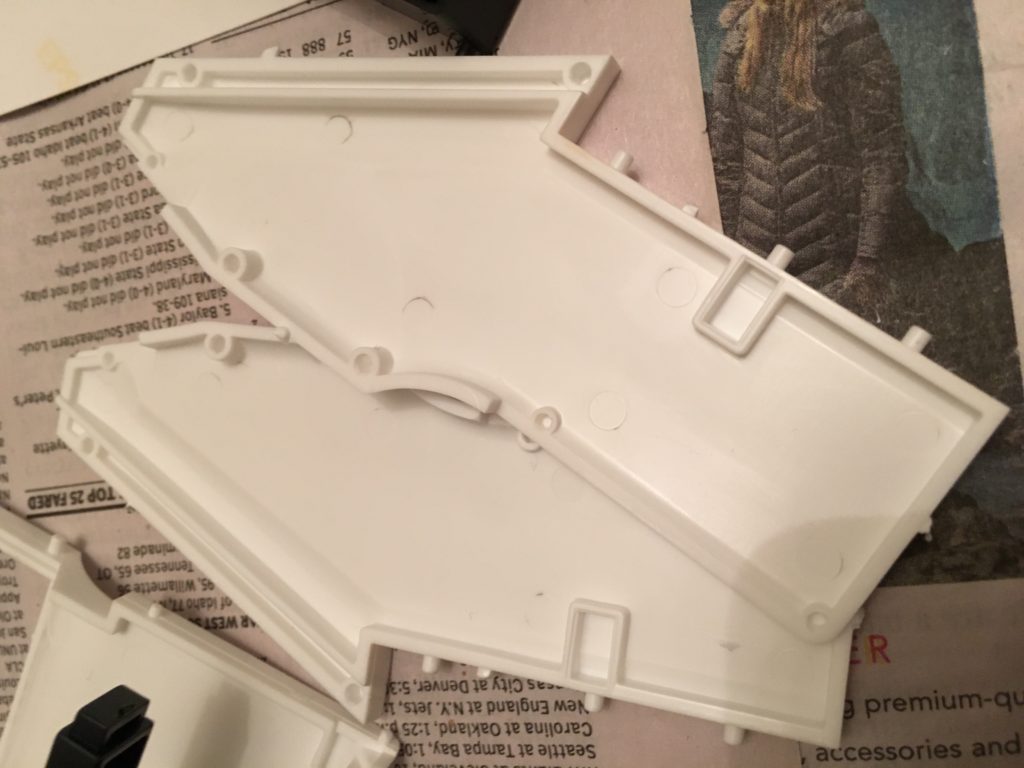
And here are the sides of the cabinet. Can you guess what goes into those rectangular enclaves? Yep, it’s the prongs of the cross-shaped piece!
Whoa there now! It’s certainly tempting to try and set the cabinet sides up now, but we need to get the screen part in there first! Fortunately, if you jumped ahead only to realize you skipped a step, it’s pretty easy to take things apart.
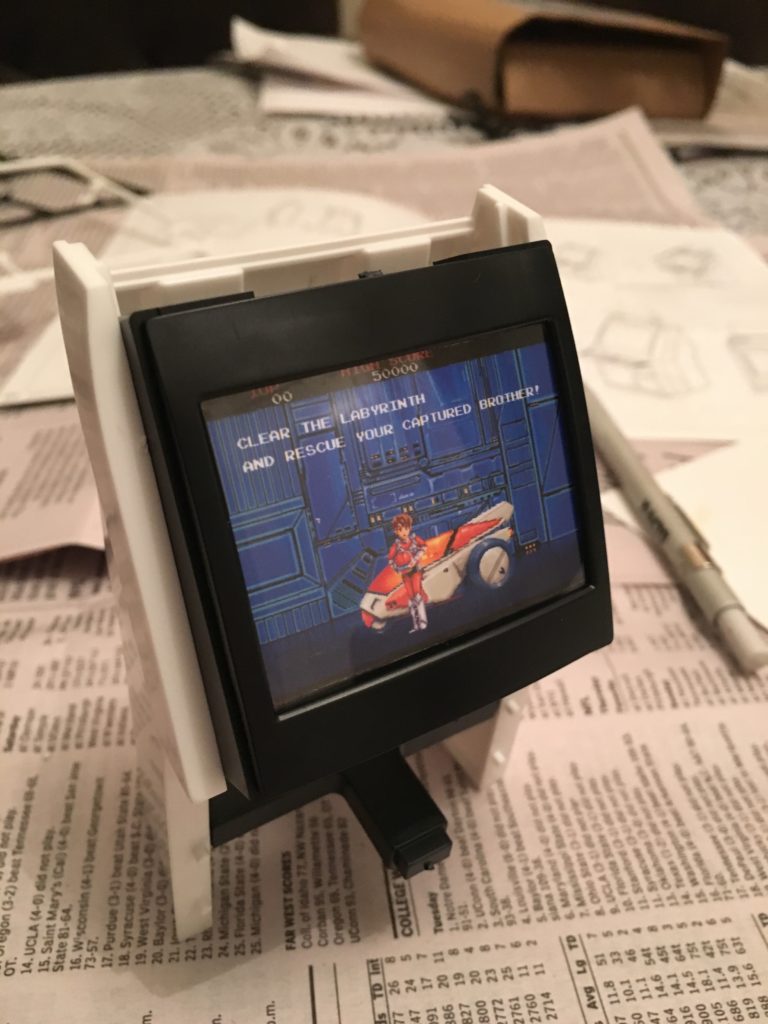
Our screen, however, has a problem – we don’t have a picture for it yet. We’re not using the included screens, either. Nope, we’re doing some customization!
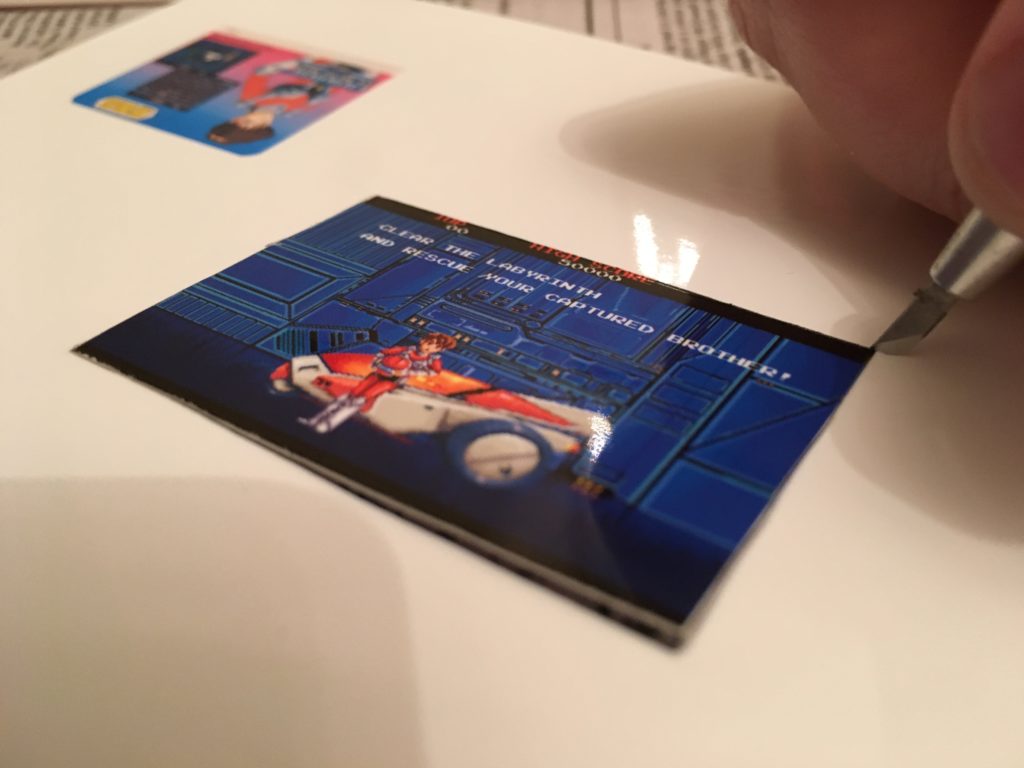 So I carefully measured out the dimensions of the kit so I’d be able to make a Raimais cabinet. Why yes, I am an irredeemable nerd, thanks for asking.
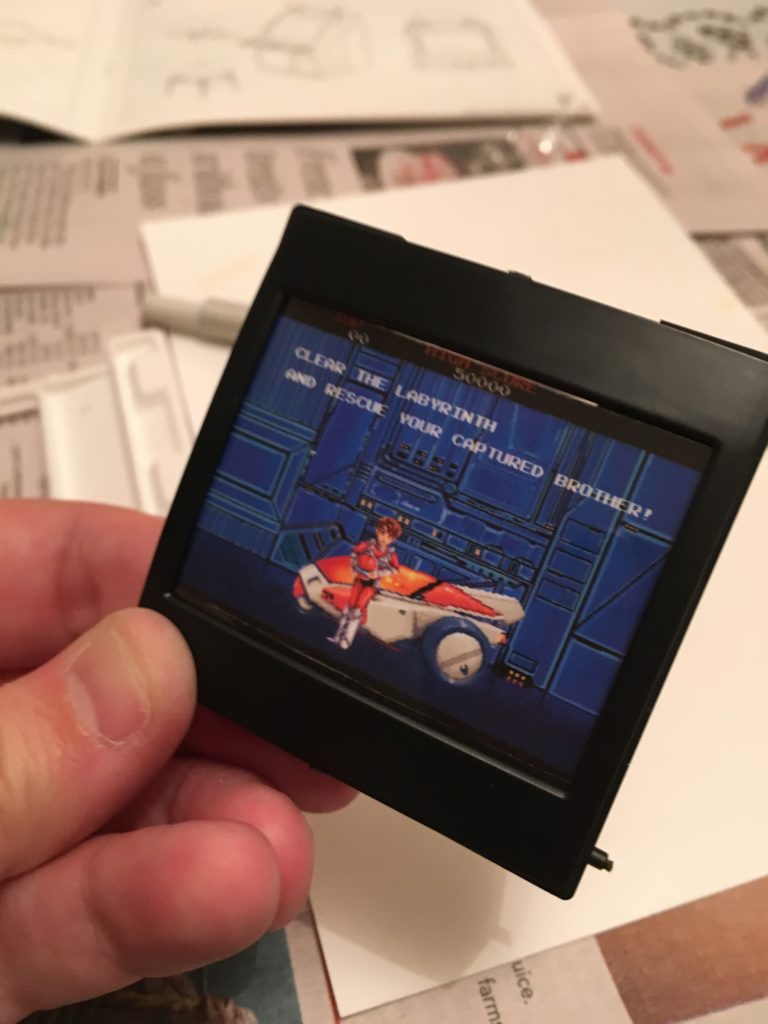
I printed out the screenshot, title card, and instructions on photo paper (don’t use standard paper, it’ll look like butt) to insert into the proper places. I assume some of you reading are also keen on putting your favorite arcade obscurity into the cabinet, so if you’re wondering: You’ll want to print the screenshot at 4.6cm x 3.5cm.
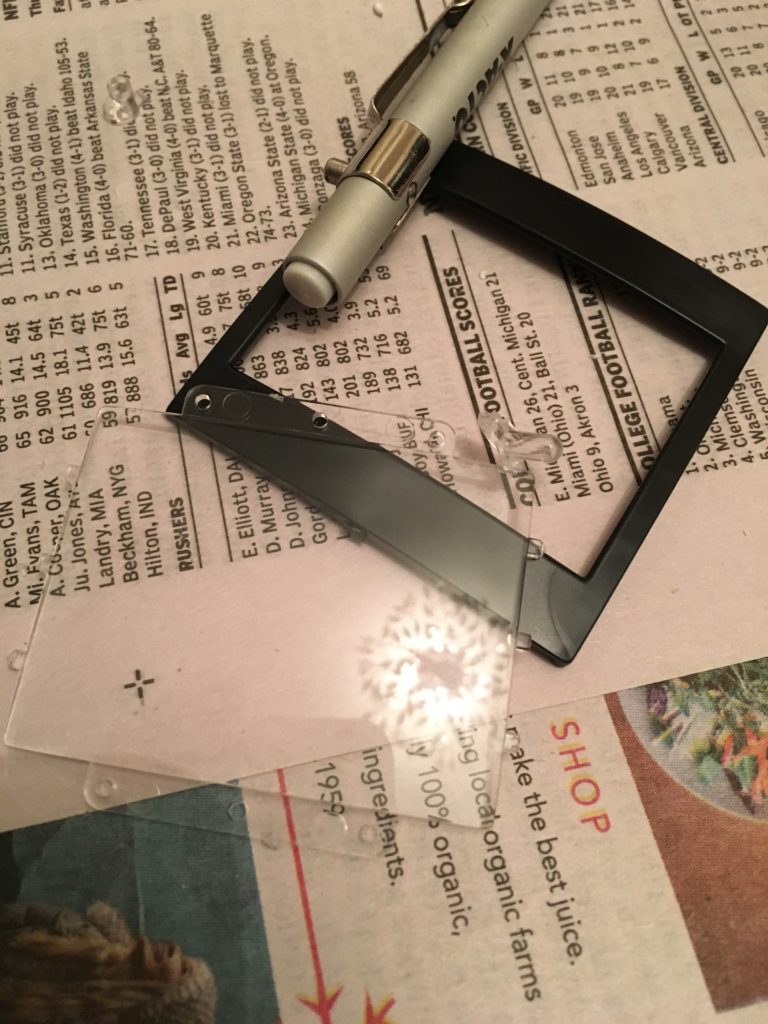
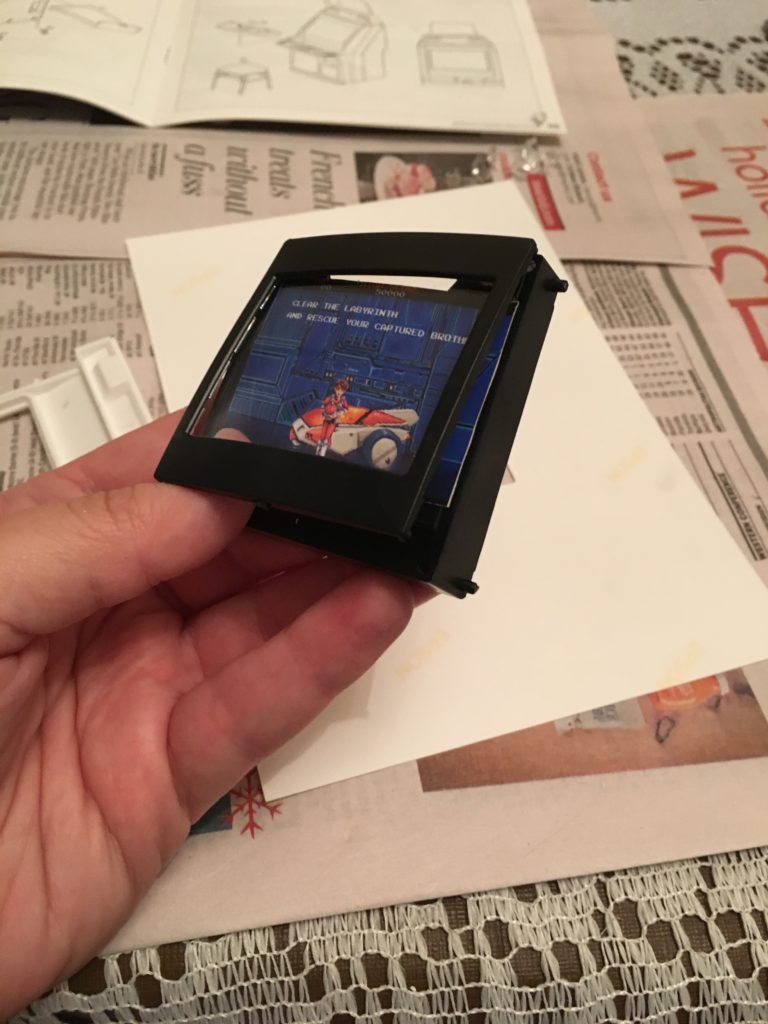
If you haven’t cut the backing piece for the screen off of the black sprue, do so now! You’ll need to put the screen on top of it, then layer the screen part on top of it with the screenshot cut-out in between, as shown above. The parts snap together snugly, so you don’t have to glue the image at all. I wouldn’t recommend it, anyway — this way, you can change it down the line if you’d like.
Ta-da! We now have a completed monitor showing an awesome arcade game! Let’s get it into the cabinet!
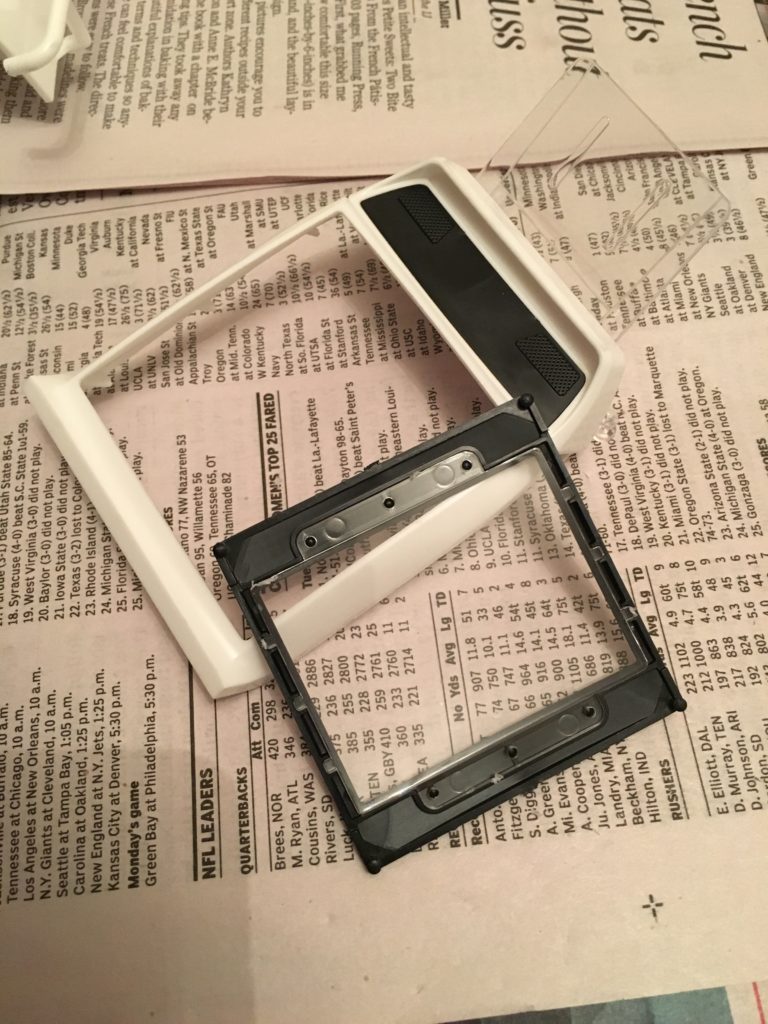
The finished monitor piece has some knobs that slot into the cabinet sides. snap everything together and it fits like a charm! Well, assuming you’ve been trimming the plastic leftovers.
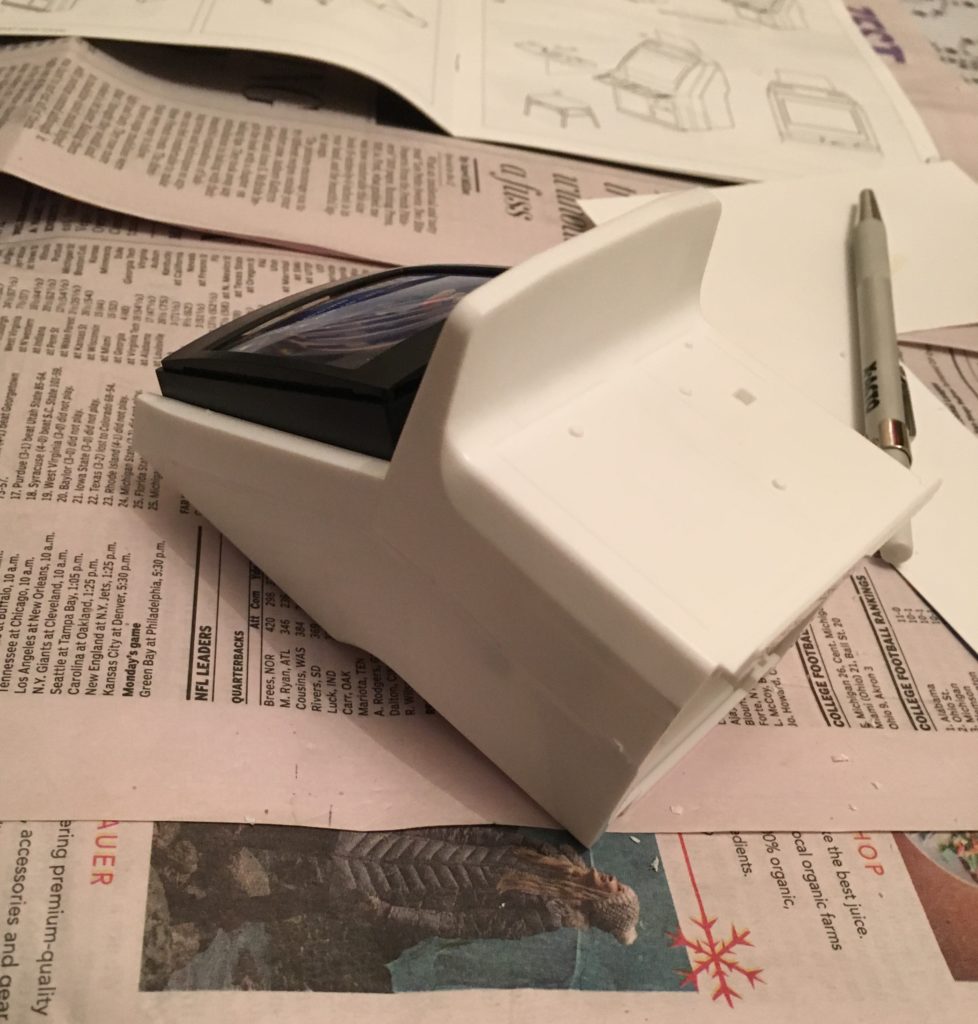 There’s still one more big part of the cabinet we need to attach: the front panel. Let’s do that now. We can put the top monitor panel part on, too, in a step that I quite conspicuously forgot to photograph. Whoopsies!
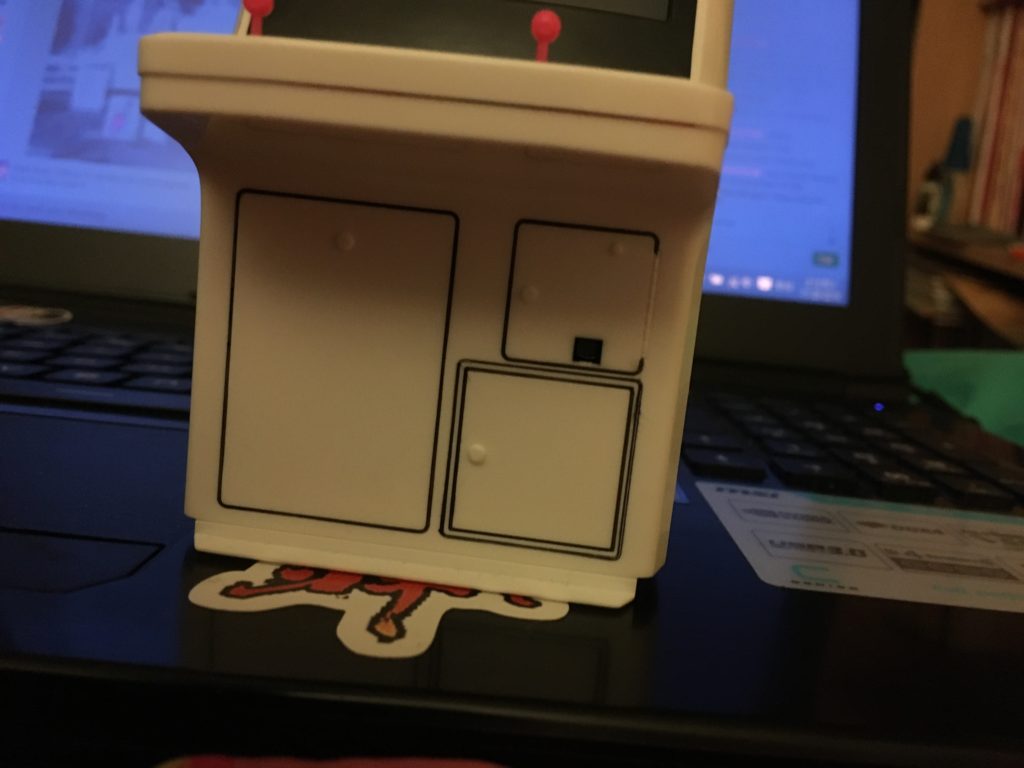
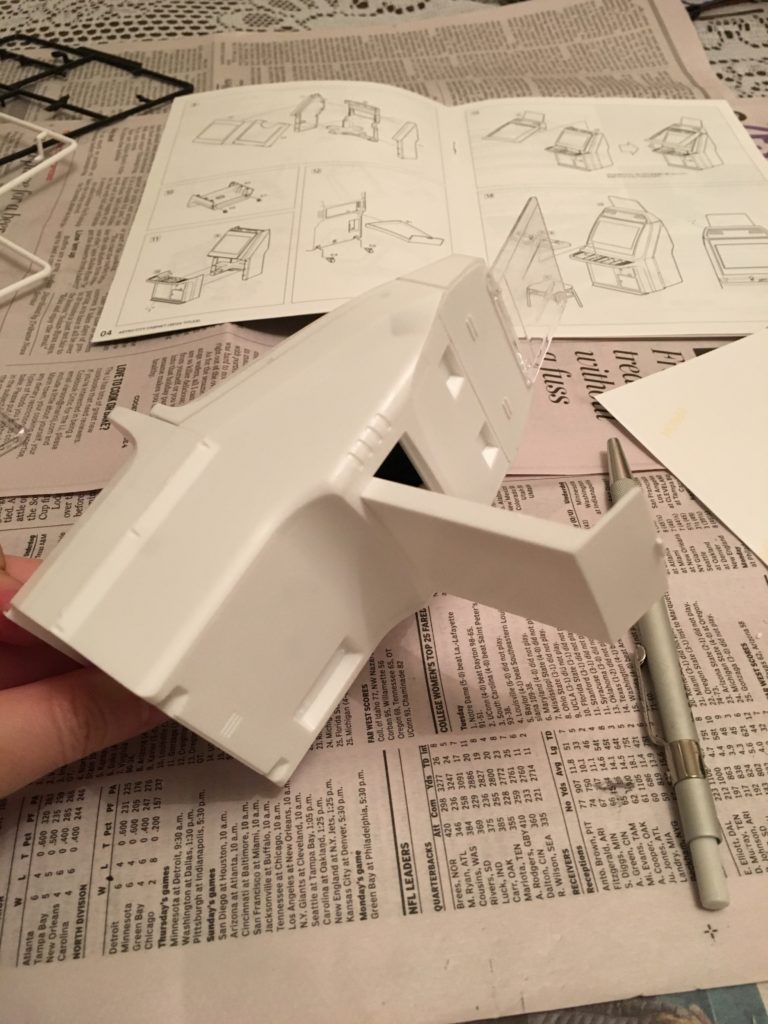 There’s one more white piece that slots into the back of the cabinet like so. The manual for the kit suggests you use this to store other screenshots you cut out so you can easily swap them as you choose. Personally, I think it’d make a pretty sweet alternative to a normal Pez dispenser.
You might notice that the white monitor panel part seems a little loose here, but don’t worry – it’ll be held snugly in place once the control panel is in.
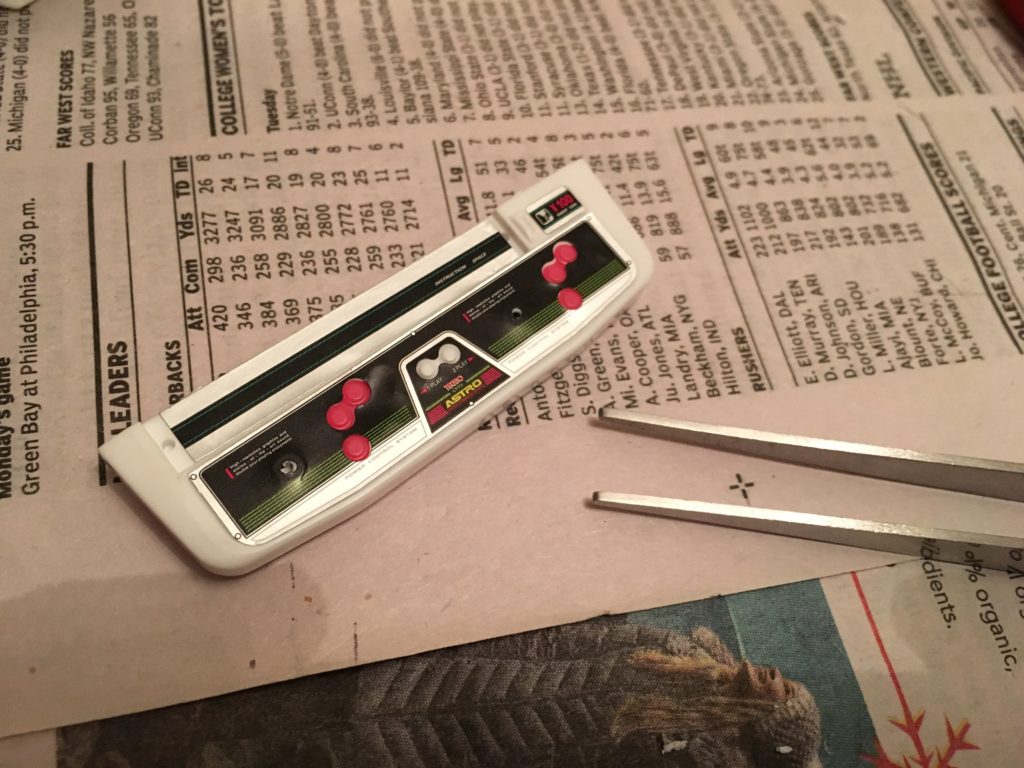
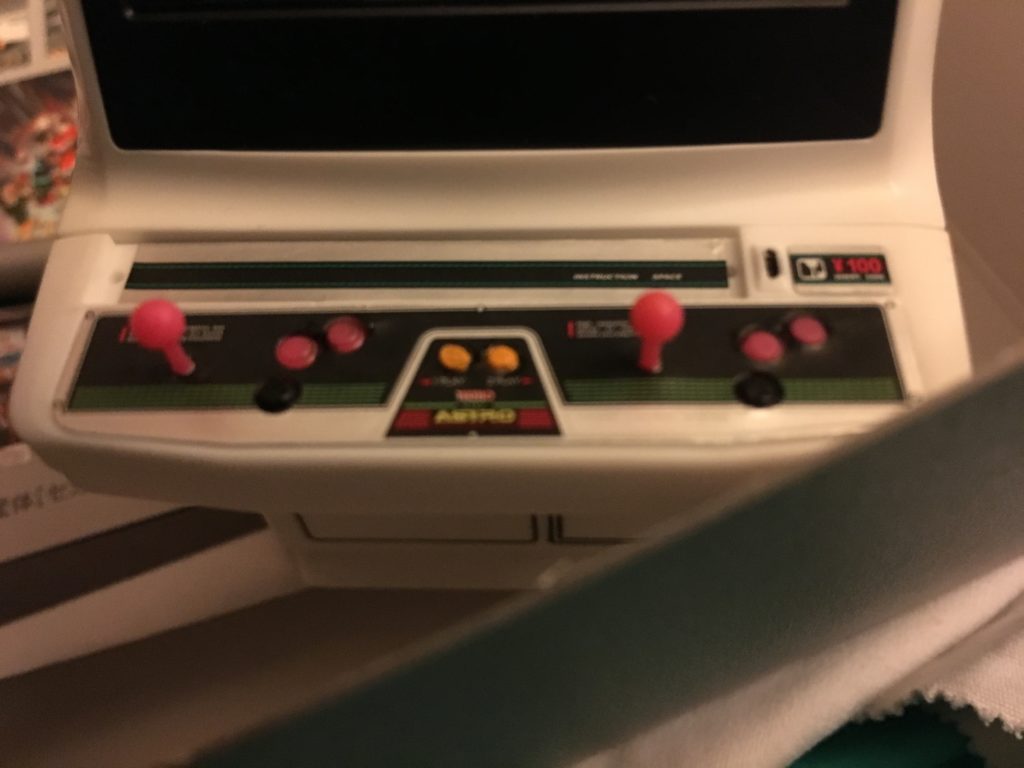
So let’s build the control panel! As you can see, the kit actually comes with two control panel tops: one for single-player and another for two-player. The one you’ll want to use depends on the game you’re displaying (and if you’re making a head-to-head style config with multiple models). In this case, Raimais supports two players, so we’ll do that setup.
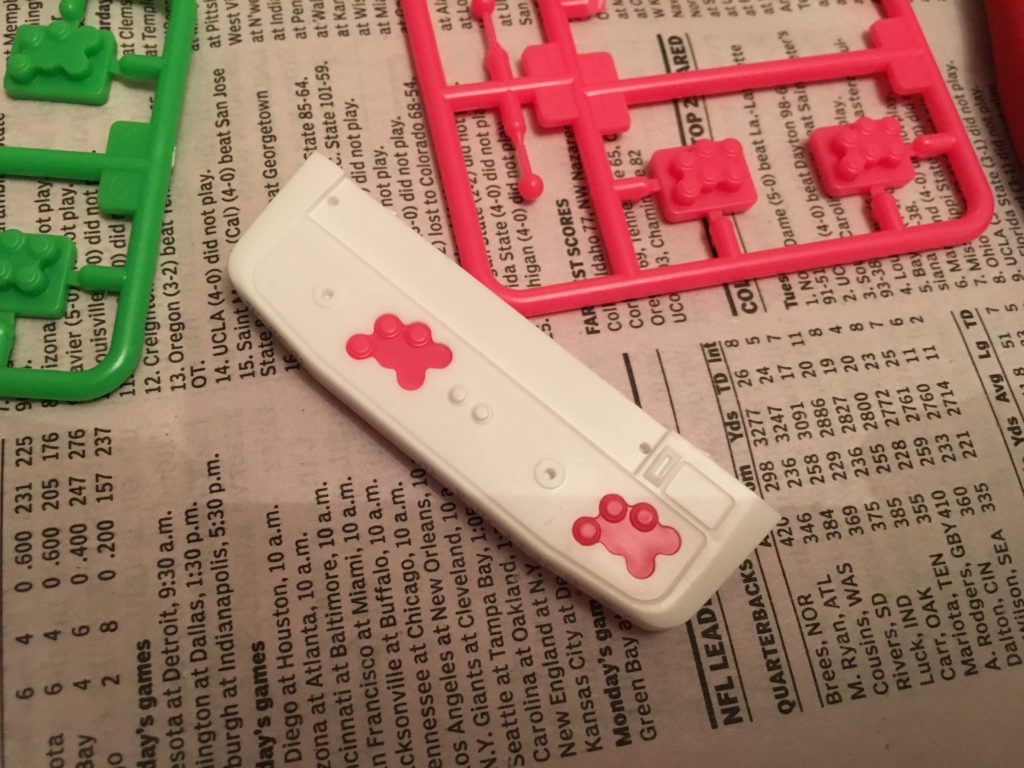
You’ll also notice there’s a “button” piece on each sprue. How does that work?
Well, you cut it out and pop it in through the bottom to make the control panel’s Start buttons!
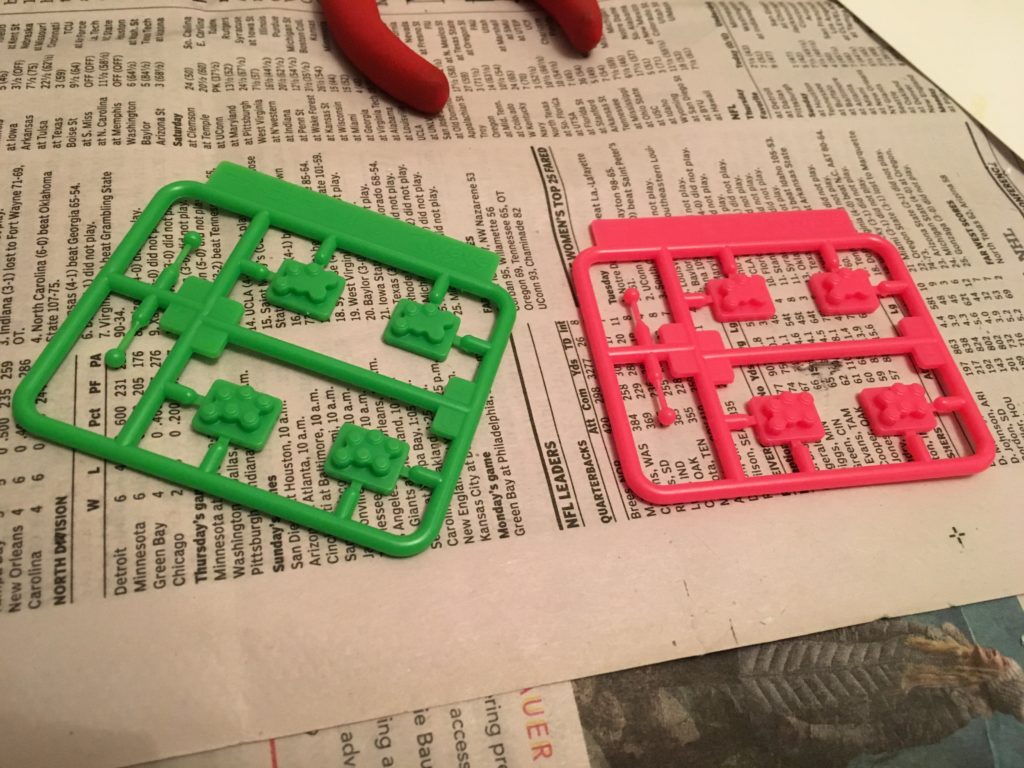
The same story goes for the buttons. They come in the Astro City-complementary colors of Hot Pink and Hirohiko Araki’s Favorite Lime Green in both three- and six-button configurations. I’m going to go with pink for this one. Raimais, however, is a two-button game… but we’ll deal with that later.
You might notice the joystick bits on these sprues, as well – I wouldn’t bother with inserting those yet, as you can bend them pretty easily when you’re pushing model parts around. Save those for last.
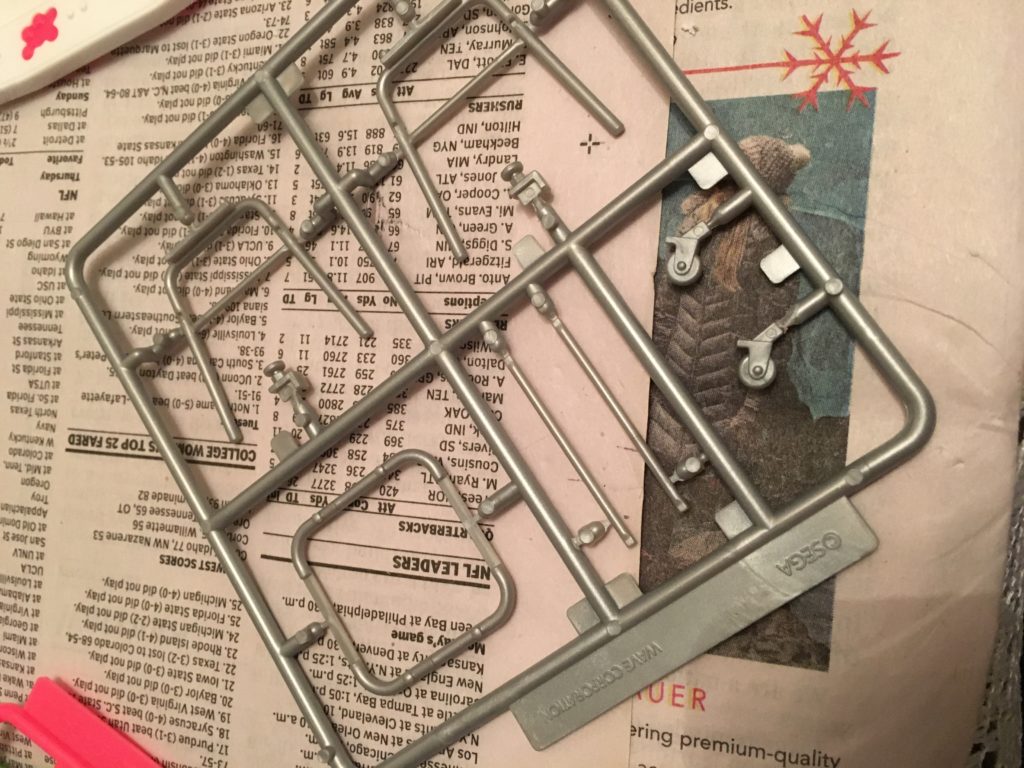
So here’s that silver sprue we’ve just had sitting around. We’re going to finally use it now to give our cabinet a bit of support…
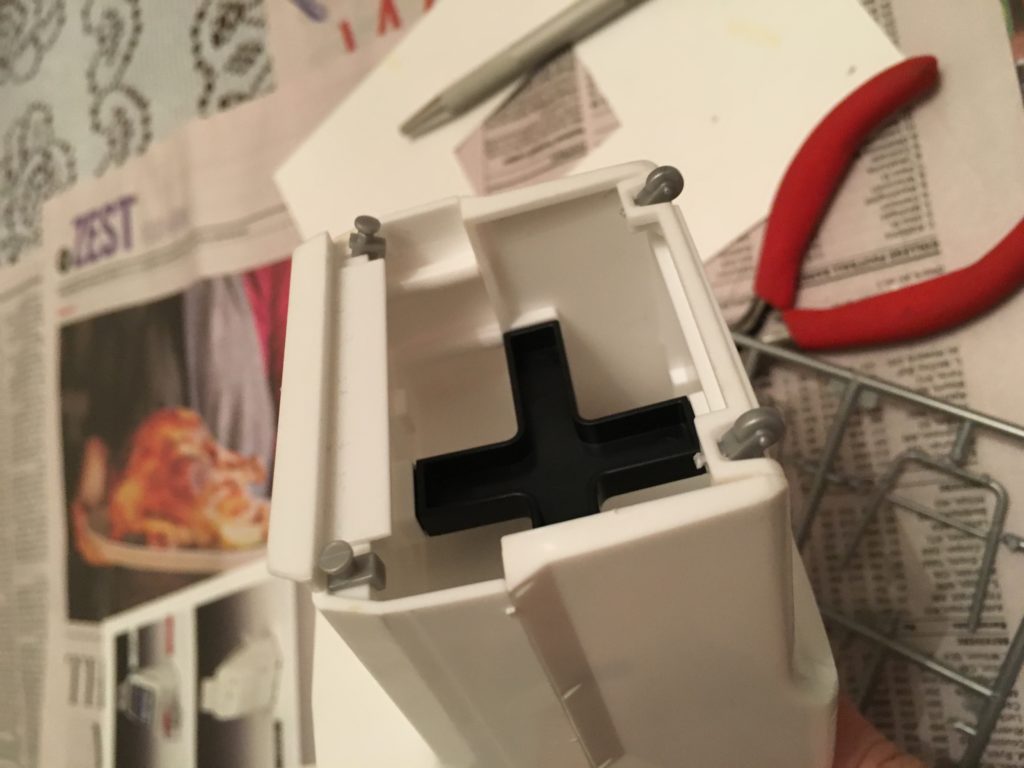 There we go! all four of these bits slot nicely into the bottom of the cabinet to help give it some support. While you won’t be seeing these bits much, if you’re pick about details, you’ll probably want to add some black paint to those wheels at some point.
Now it’s time for what’s either your favorite or your least favorite part of model-building: decoration! Let’s get these decals on our cabinet!
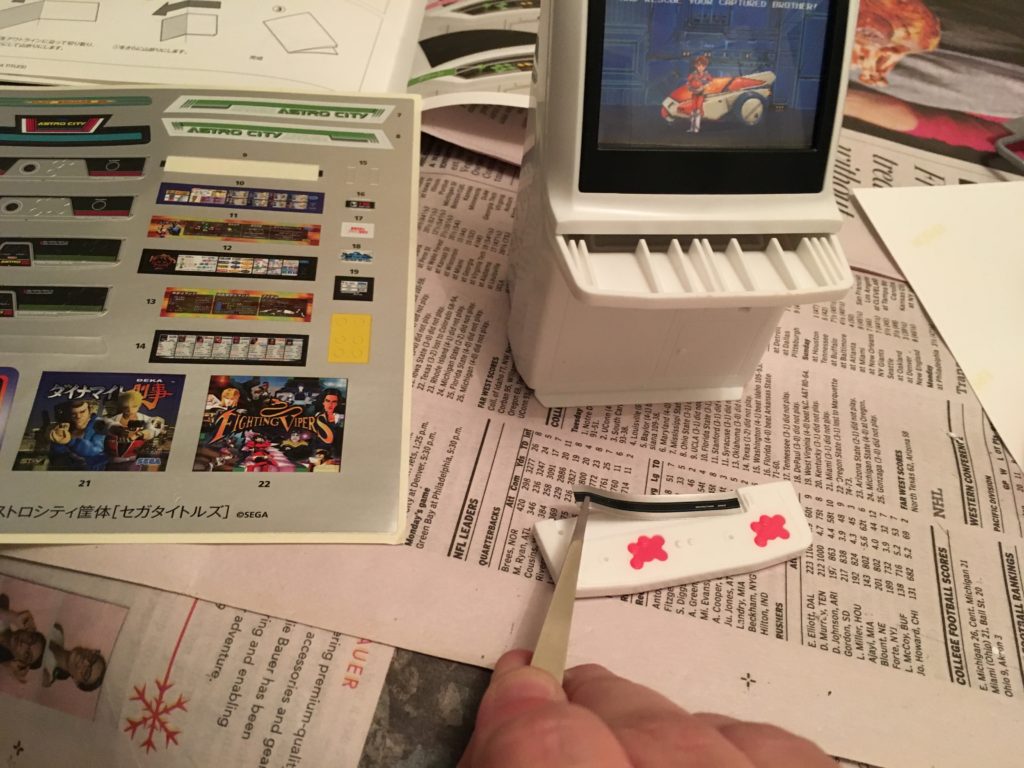
I highly recommend the use of tweezers in lifting up the stickers – there are some small cut-out bits needing careful separation that you don’t want to rip.
And here’s the control panel with all the decals attached. You can still see openings for a potential 6-button setup if you look carefully, but most people won’t be able to see it.
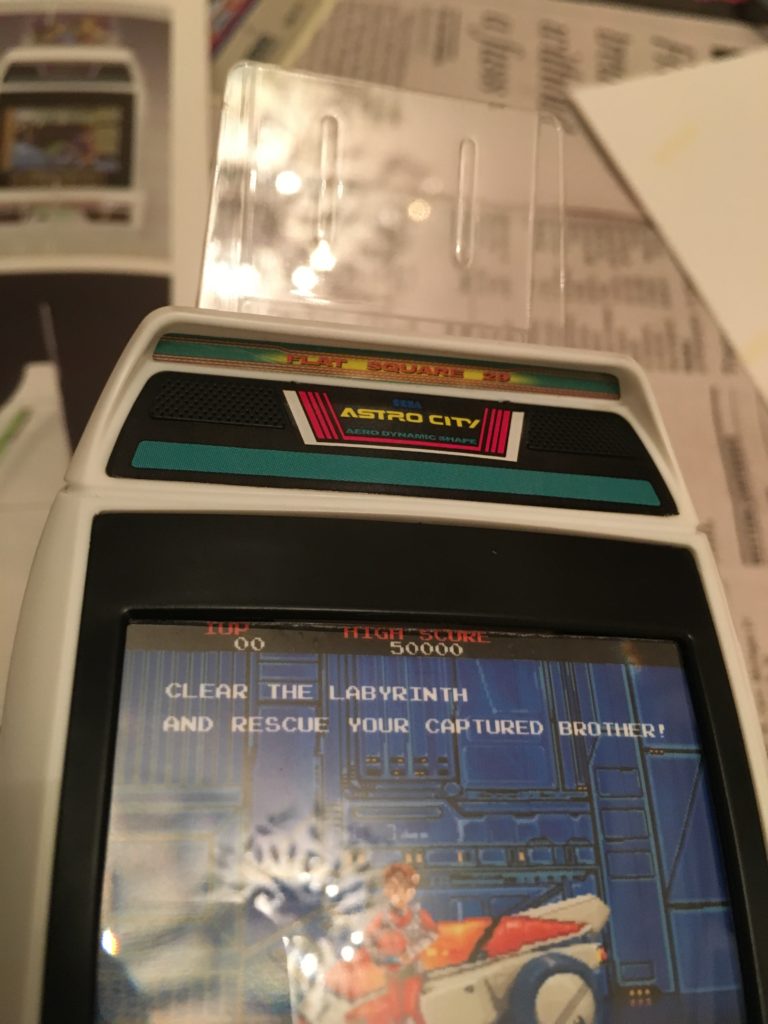 And here’s the top panel with decals applied. It’s a little tough to get the “Astro City” header to wrap around the speakers properly. Getting that “Flat Square 29” in that tiny space is a bit tricky as well. And hey, why not get the marquee part up on there, too? We’ll be putting something on there soon enough.
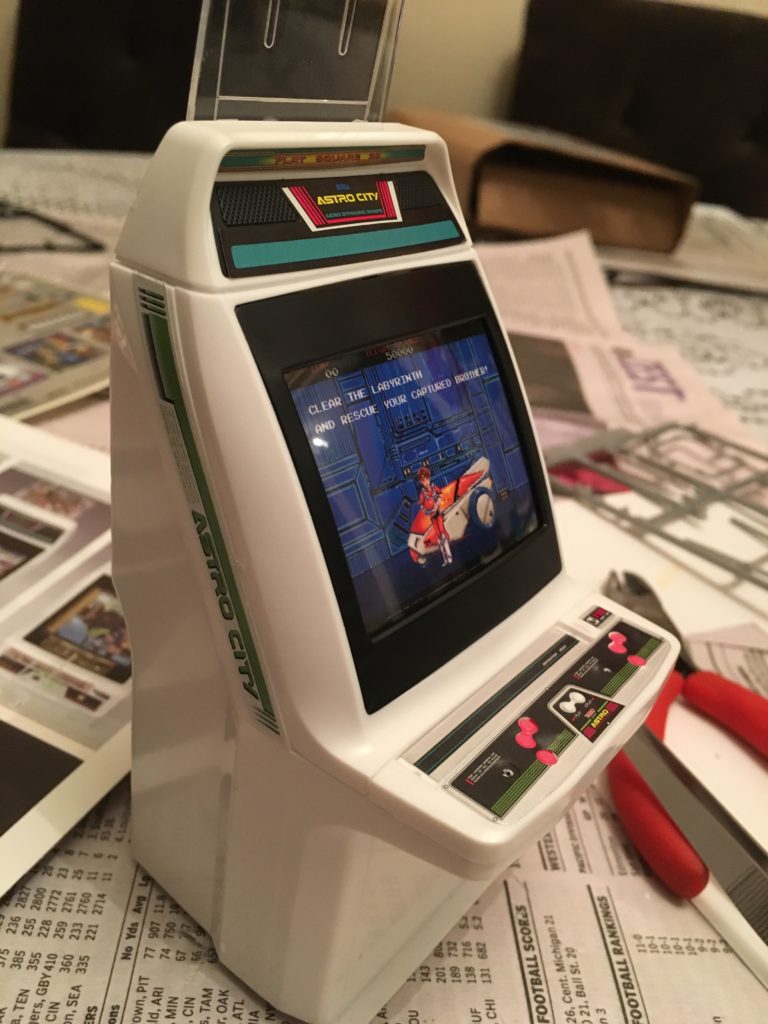 Apply those “Astro City” decals to the sides, snap the control panel in, and — wow, it’s coming together super nicely, isn’t it?
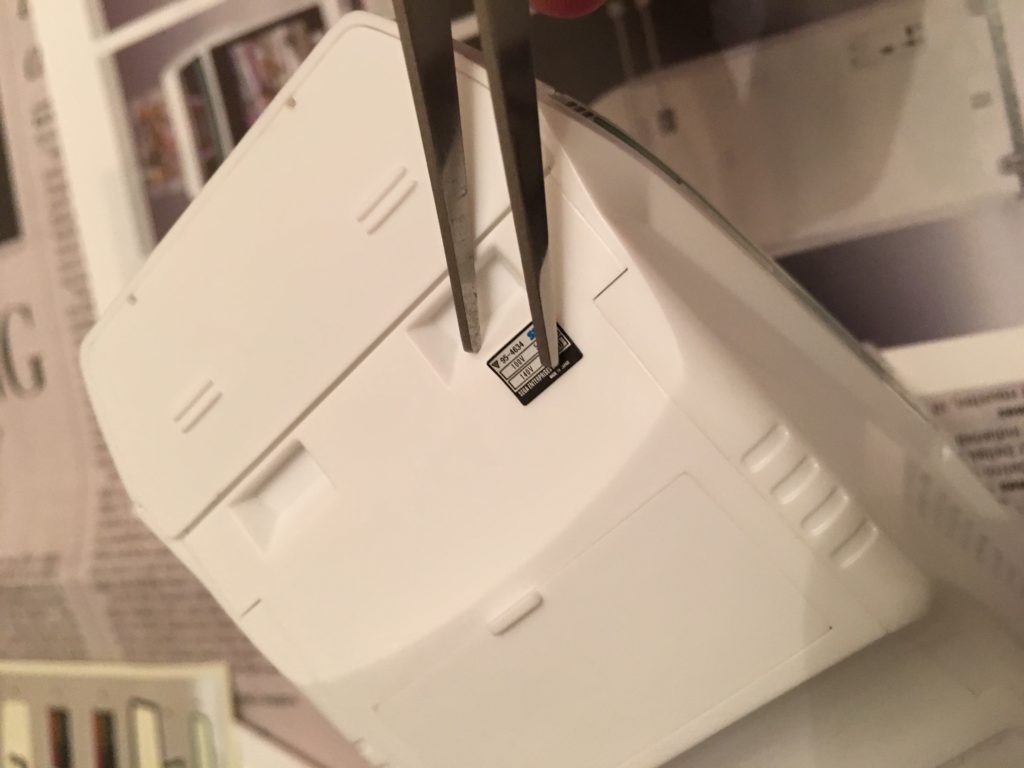
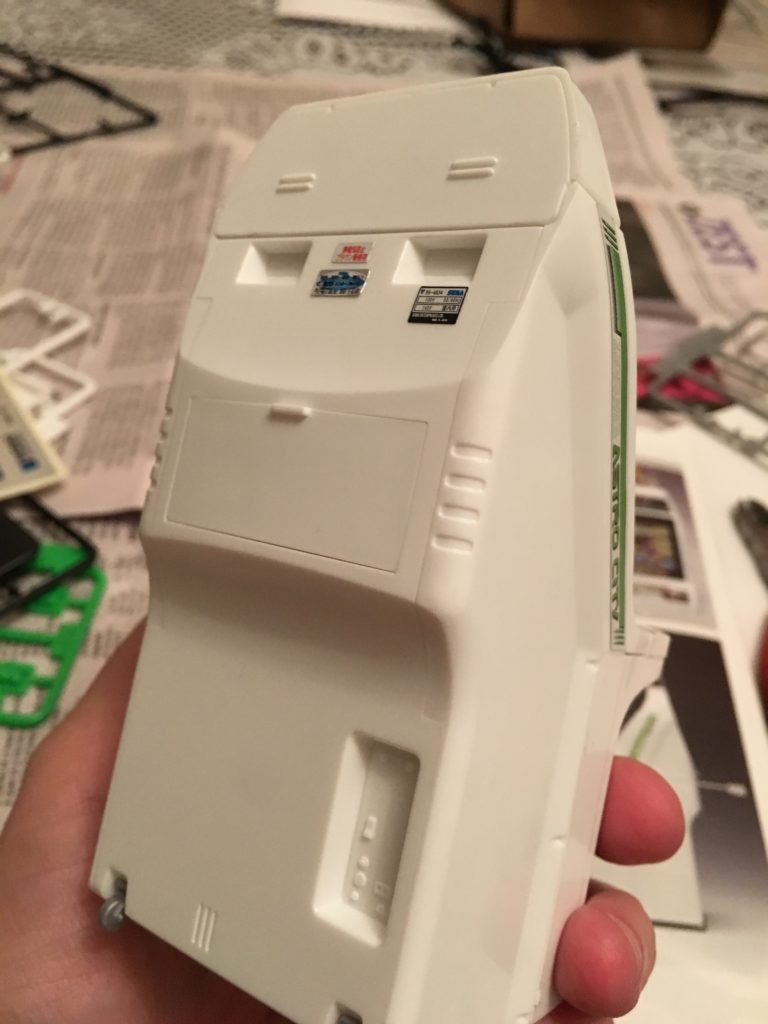 We’re not quite done with the decals yet, though – we need to put all the manufacturer and safety labeling on the back, just like the real thing!
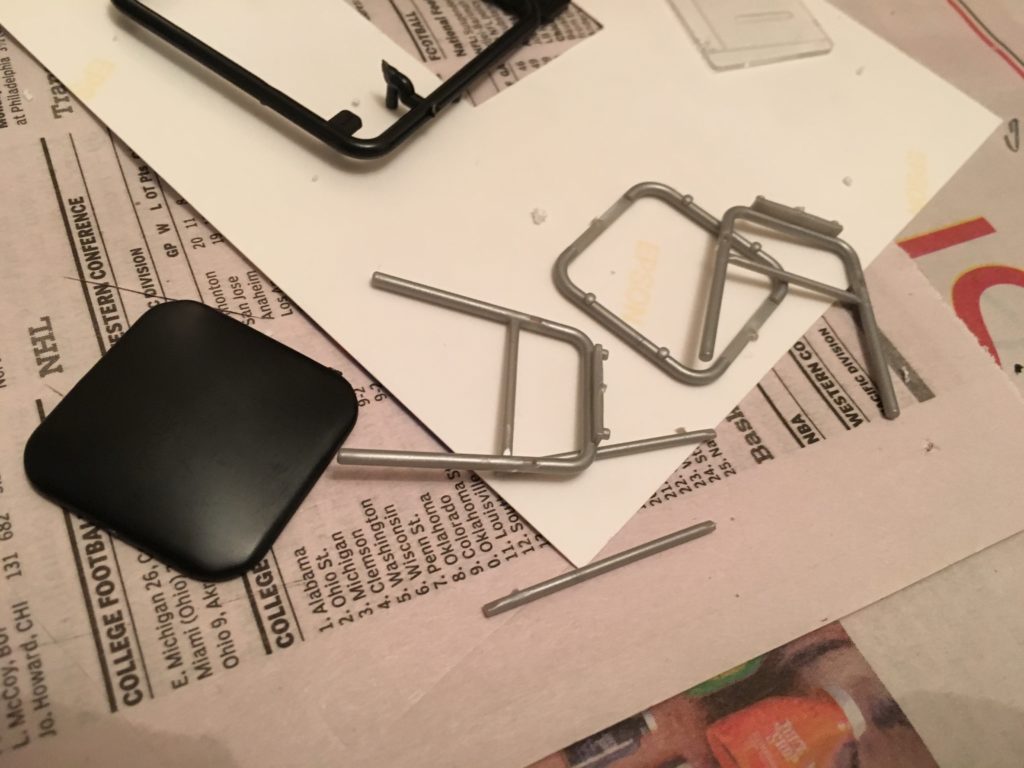
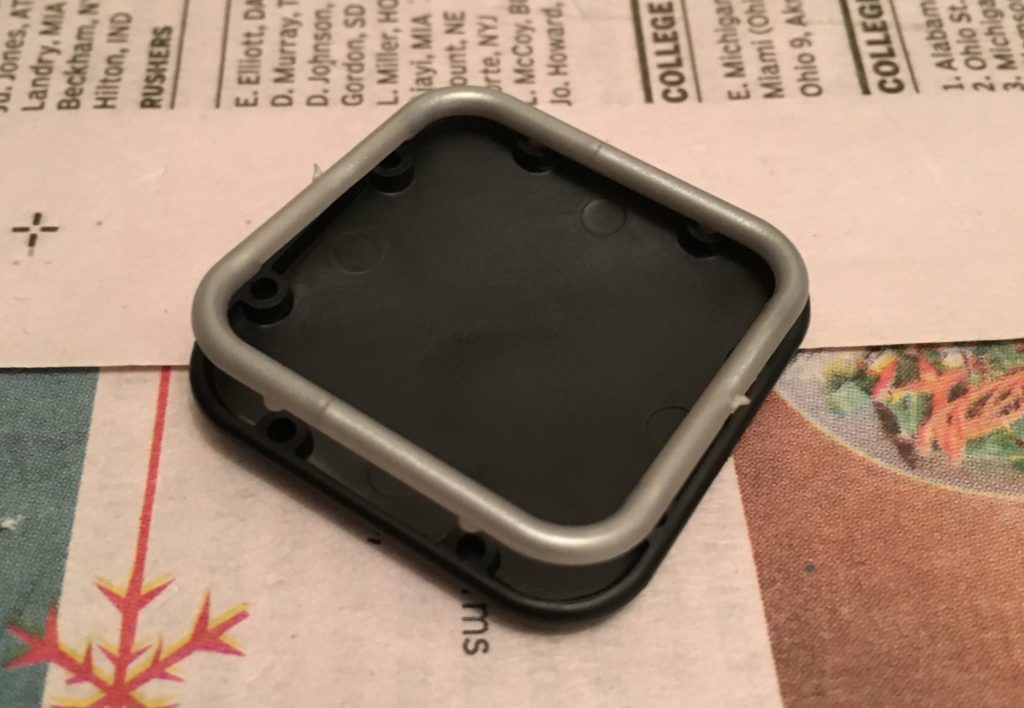
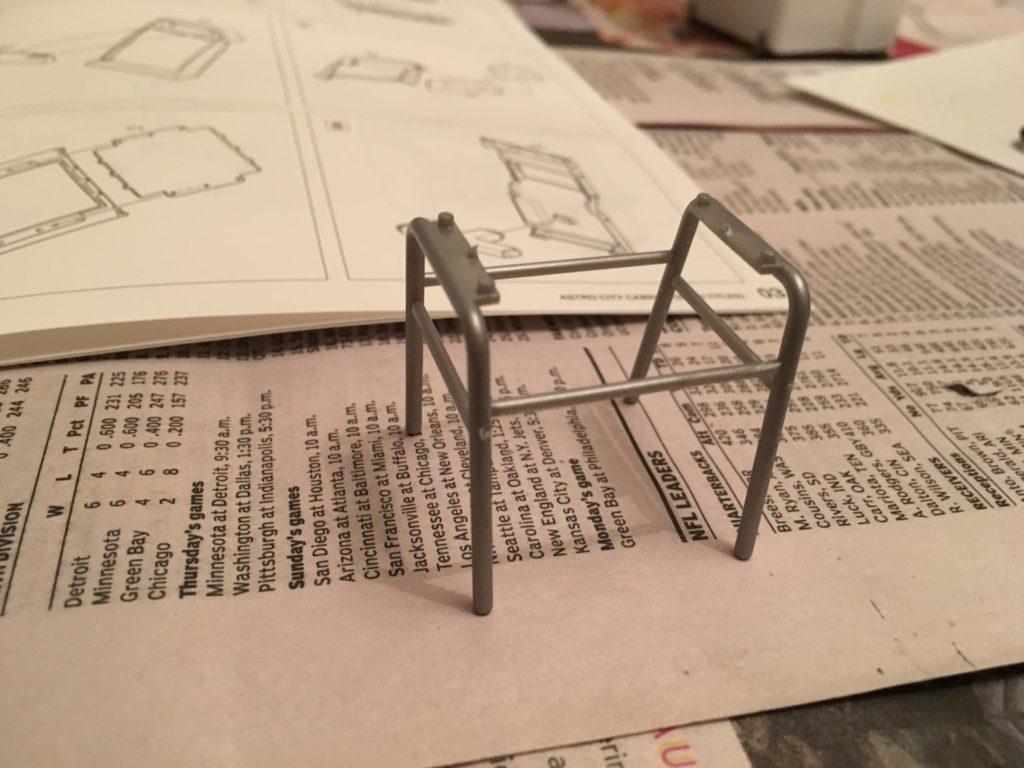
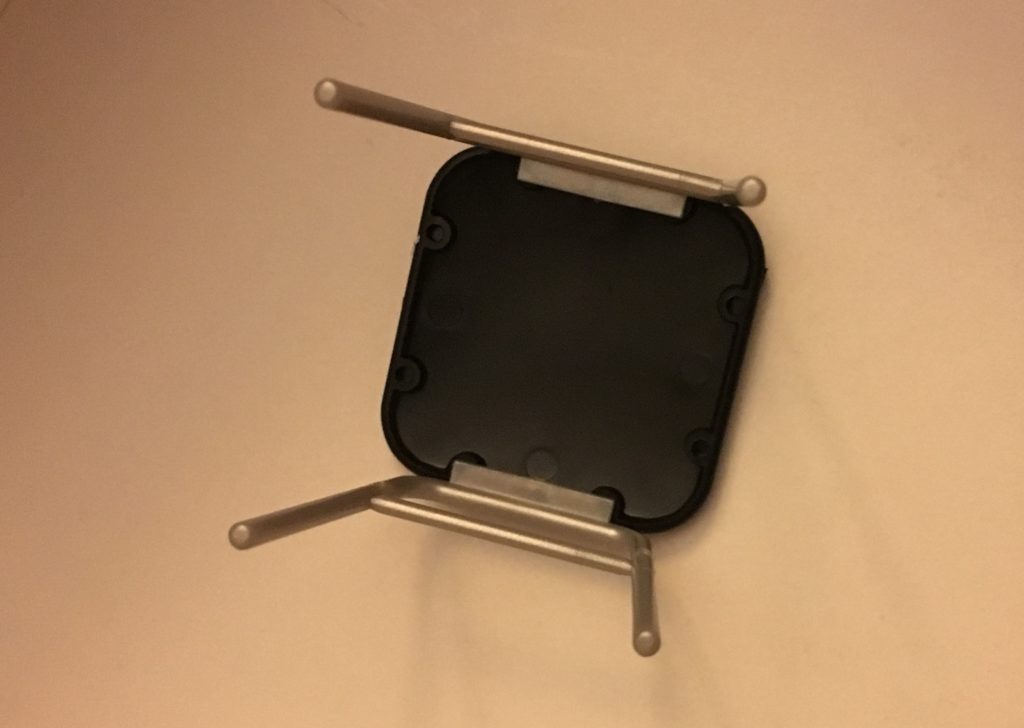
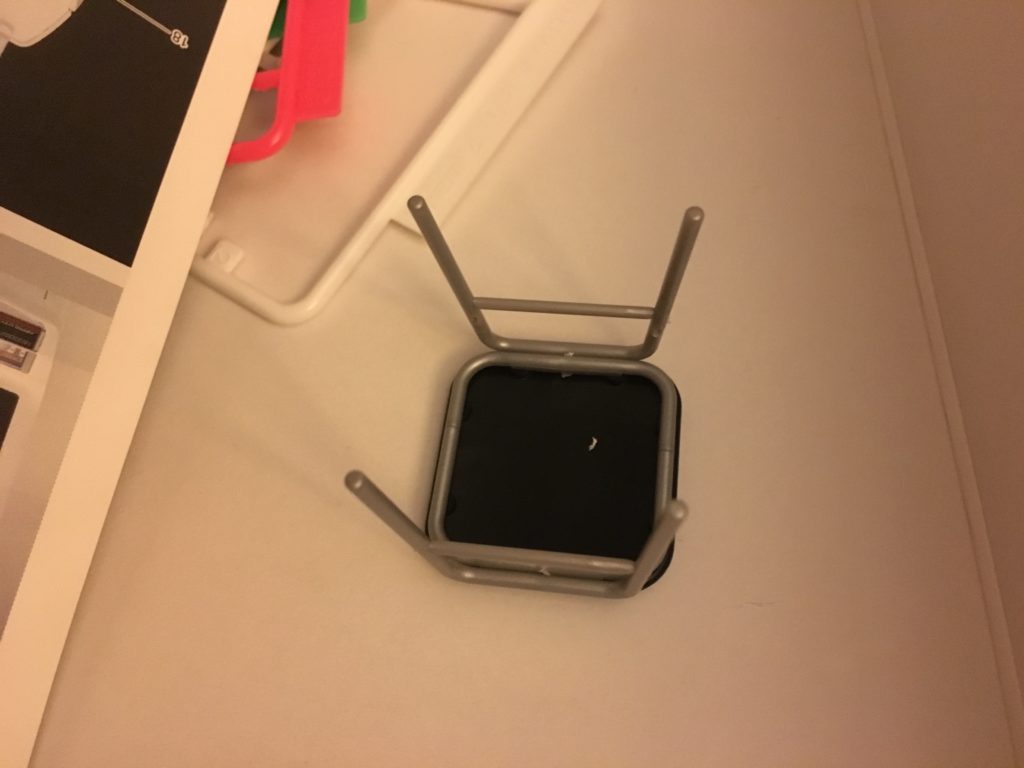
There’s one part we’ve been neglecting: the seat. You can’t have a Japanese-style sit-down cabinet without a proper stool! Surprisingly, this is one of the tougher parts of the model to build – the silver bits are small and finicky to assemble, and the seat doesn’t quite fit the way you might think.
You’d assume that you’d assemble the base part, then set the top part of the stool on top of it. However, this is actually incorrect — the two pieces don’t fit like that.
Instead, you’ll want to slot the two sets of legs directly into the stool base first, then pop in the square-shaped “ring” base to hold them in place. You can then squeeze in the two silver connector bars to complete the stool.
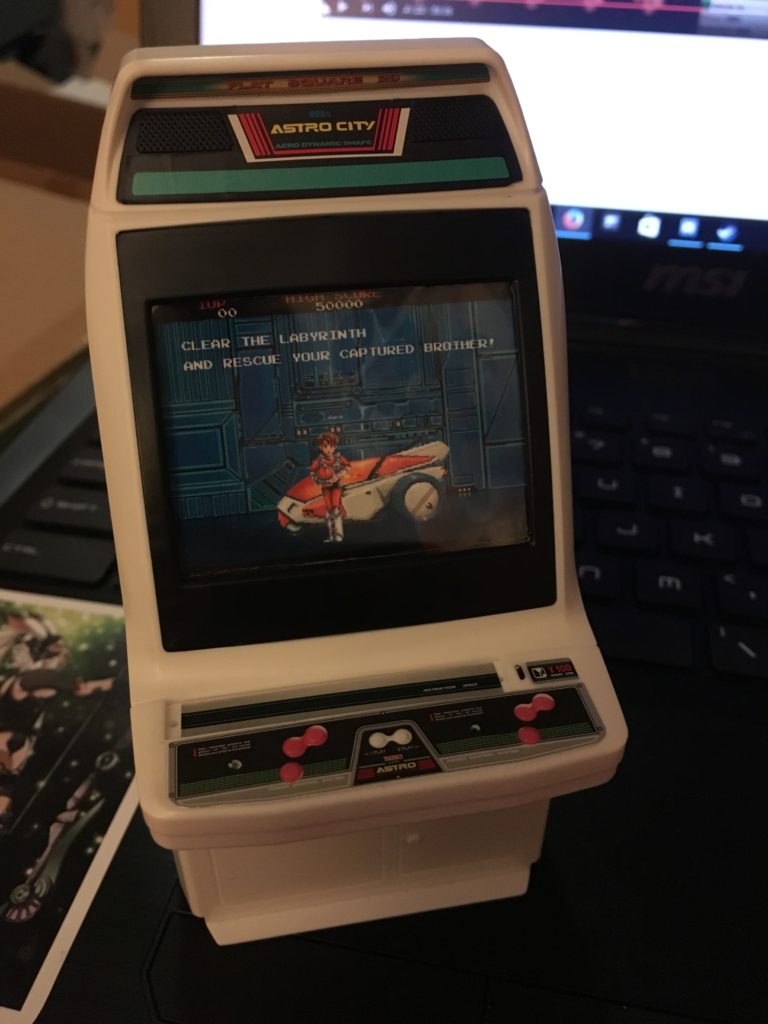 Alright, we’re in the home stretch! Now it’s time to add some final detailing and extra decals to finish this lovely model.
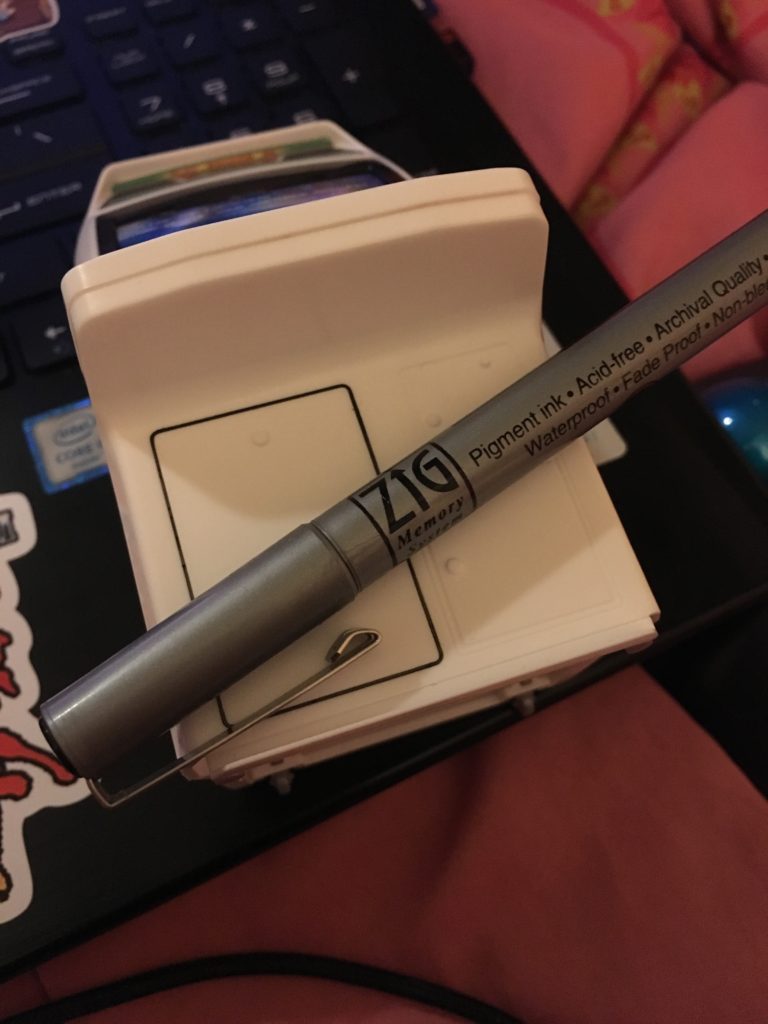 We’re going to add some extra definition to the openings (that, obviously, don’t actually open on this model) on the front of the cabinet. If you have a black or gray fine point Gundam Marker, you can easily slide the tip into the grooves to give them a bit of nice tone. If you don’t have a Gundam Marker, a very fine point (like .05mm) pigment marker like the one shown above will do the trick, but be sure to give it time to try because it can smudge easily. (At least the ink is easy to clean up if it does.)
Here’s the front of the machine fully lined. Looks neat, doesn’t it? But there are still a few parts that need coloring. We’ve got the joysticks in now, as well.
It’s about time we finished up that marquee board. I’ve got the title card, again printed out on photo paper, sized to 3 cm wide to fit. (There’s a bit of an overlap of the image above the top of the marquee, but that’s not a big deal.) I attached it with a small amount of Elmer’s hobby spray glue: just enough to secure it, but not so much that it would make it difficult to remove and reposition if need be. Don’t use super glue, it’s a bad bad bad idea.
We’re going to add a bit of extra detailing with paint now. First, let’s color those start buttons with a nice gloss yellow. (There are tiny yellow stickers included in the set, but I recommend not using them – they’re small, hard to apply, and look awful. I also used matte black paint on one of the buttons on each side to simulate a “hole cap” for one of the buttons.
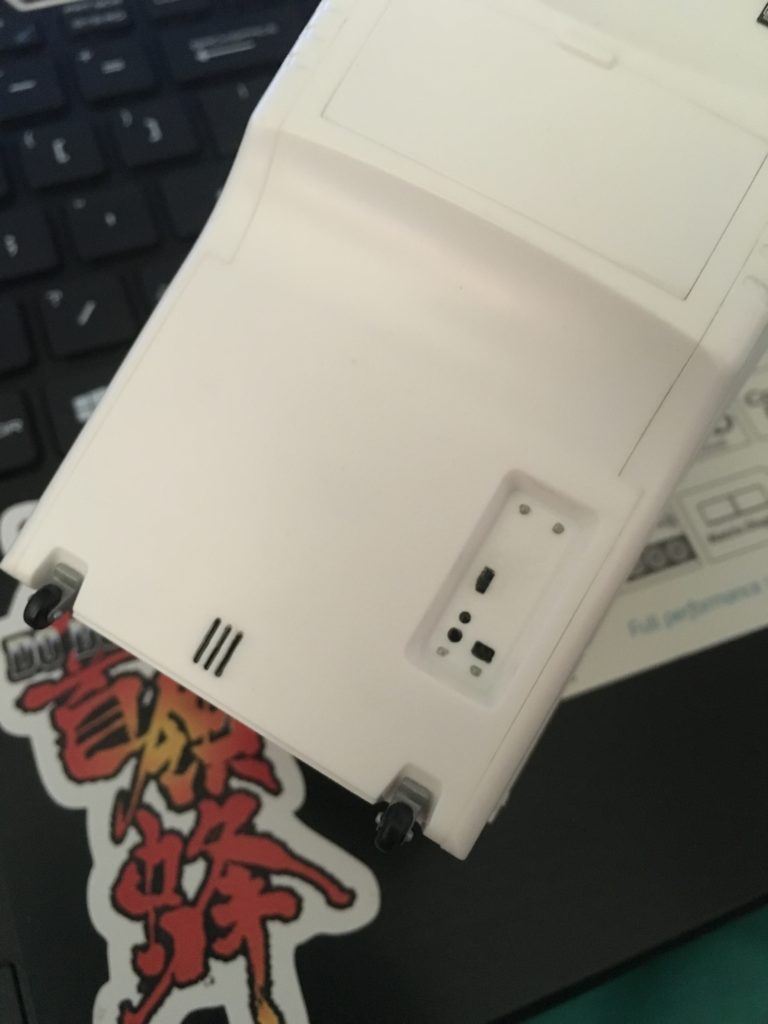 We add a bit of the matte black paint to the backside electronics and the wheels as well.
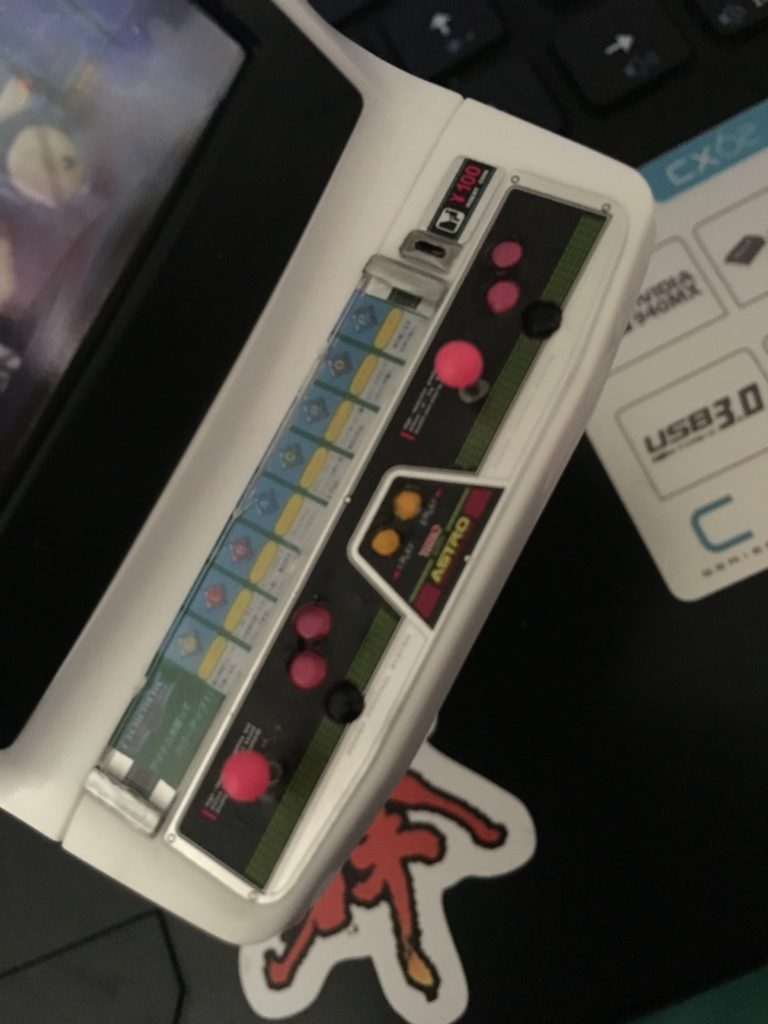 Let’s put some more trim on the control panel, as well. Some metallic paint adds a bit of class to the coin chute and joystick shafts. This is also the right time to put some instructions and the final clear piece onto the upper-mid left area of the panel. I printed out the instructions at 6mm in height, and it was a bit of a tight fit, but we got them in! Once they’re secured, we put the clear plastic panel on top and add some metallic paint to the left and right sides. (There are stickers included that you can use for this, as well, but like the yellow button stickers, they’re not-very-good to use.)
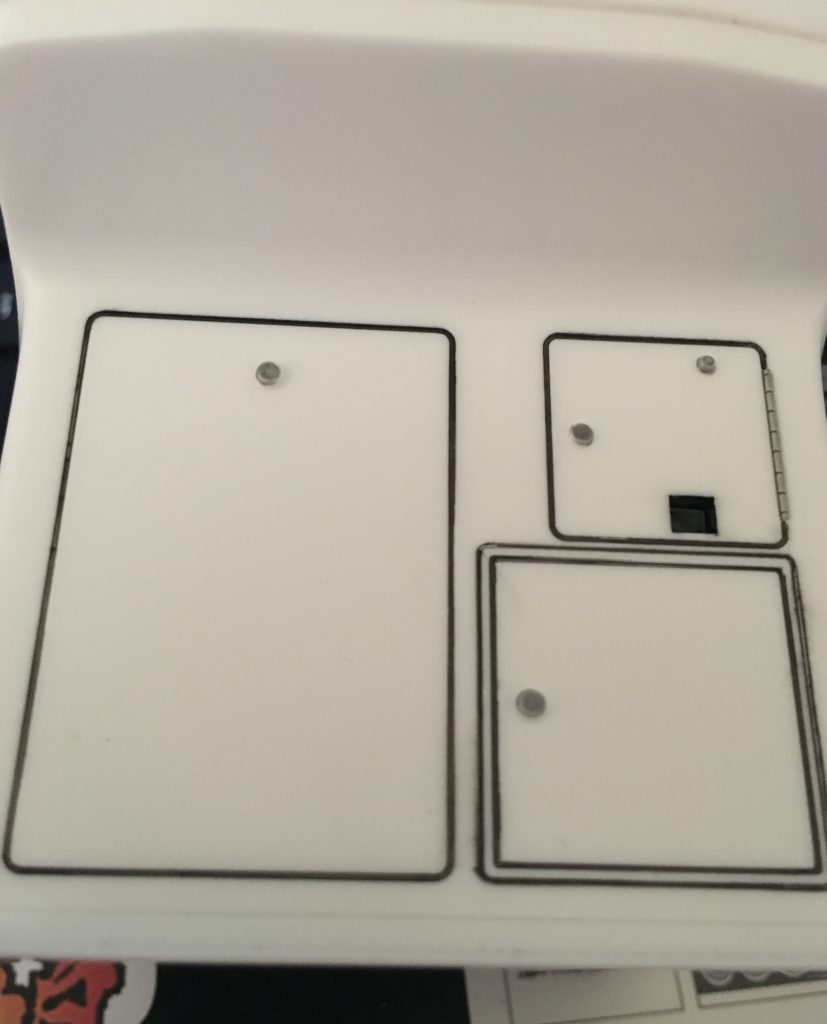 And now we wrap it up with some shiny metallic paint flourishes across the locks.
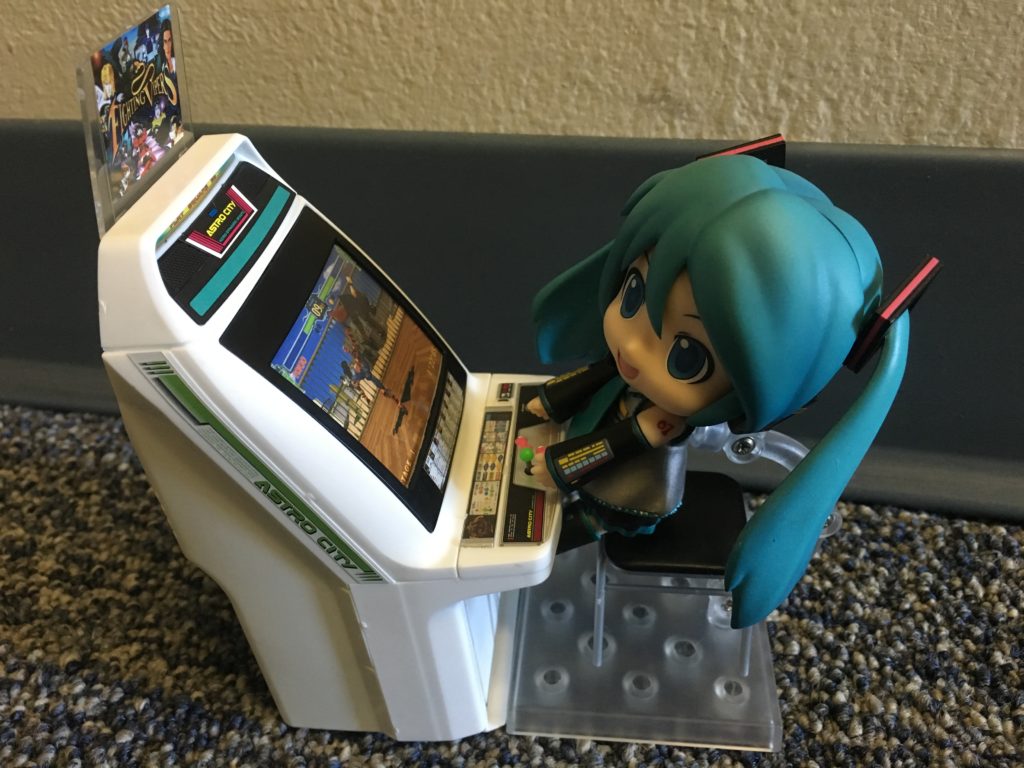
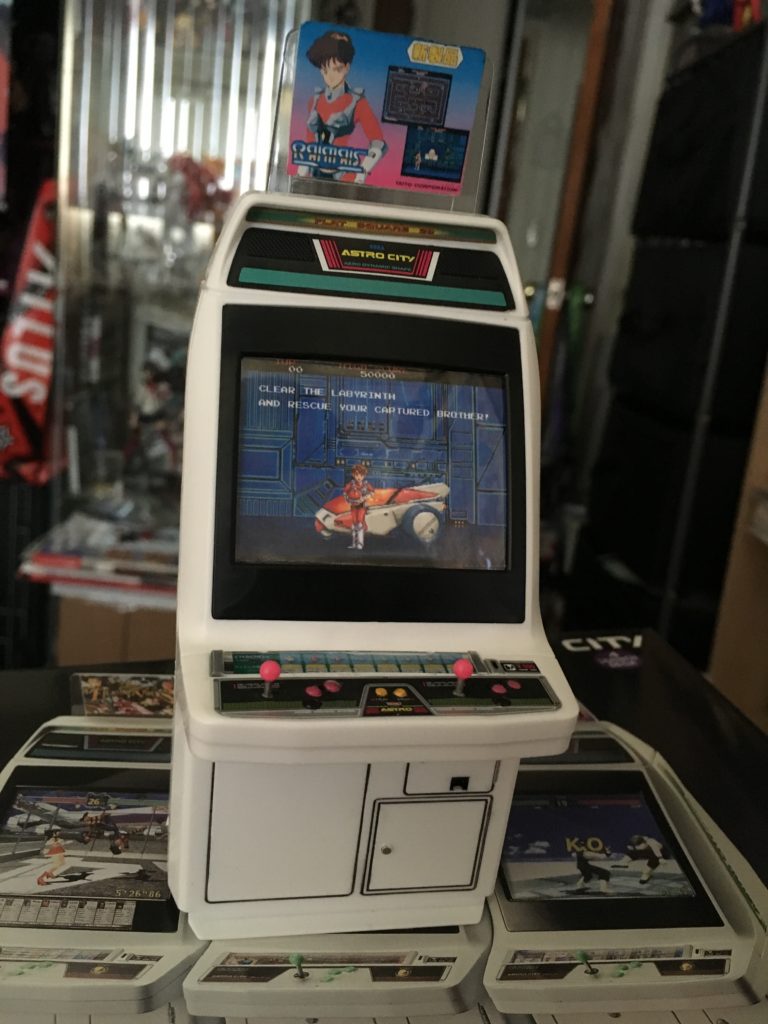 Voila! We now have one customized Astro City model kit complete!
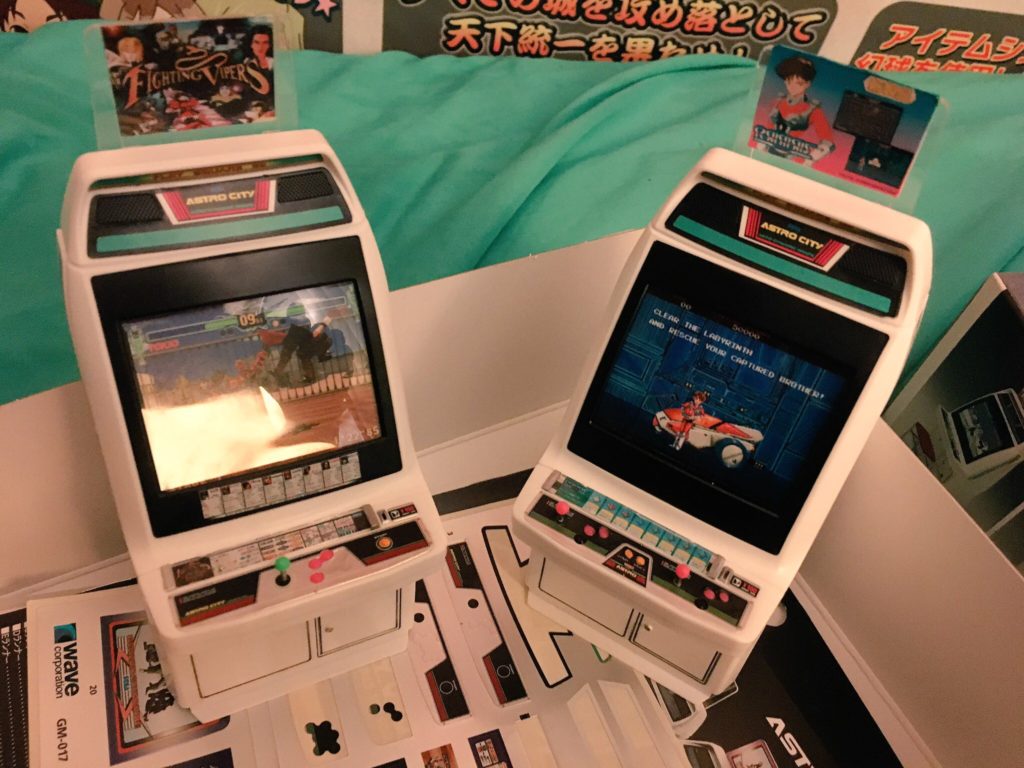 Of course, if you’re like me, you preordered a few of these kits in anticipation of setting up your own miniature arcade. If you did preorder a bunch, then you made a wise move, because suddenly these kits have become really, really hard to get, even in Japan, and scalpers are having a field day. MSRP on these is 3,200 yen apiece, but the lowest I’ve been seeing them go for lately is about $50. Yikes! When they do appear for a reasonable price, they go very quickly: Hobbylink Japan seemed to get restock for a couple of hours before they all vanished again.
Why the sudden spike in popularity and price? Well, the cabinets are 1/12 scale, meaning they’re perfect for setting up dioramas with figmas and such. They’re also very customizable: I’ve seen several mods putting in tiny LCD screens, Raspberry Pis, and working controls to turn these into playable machines.
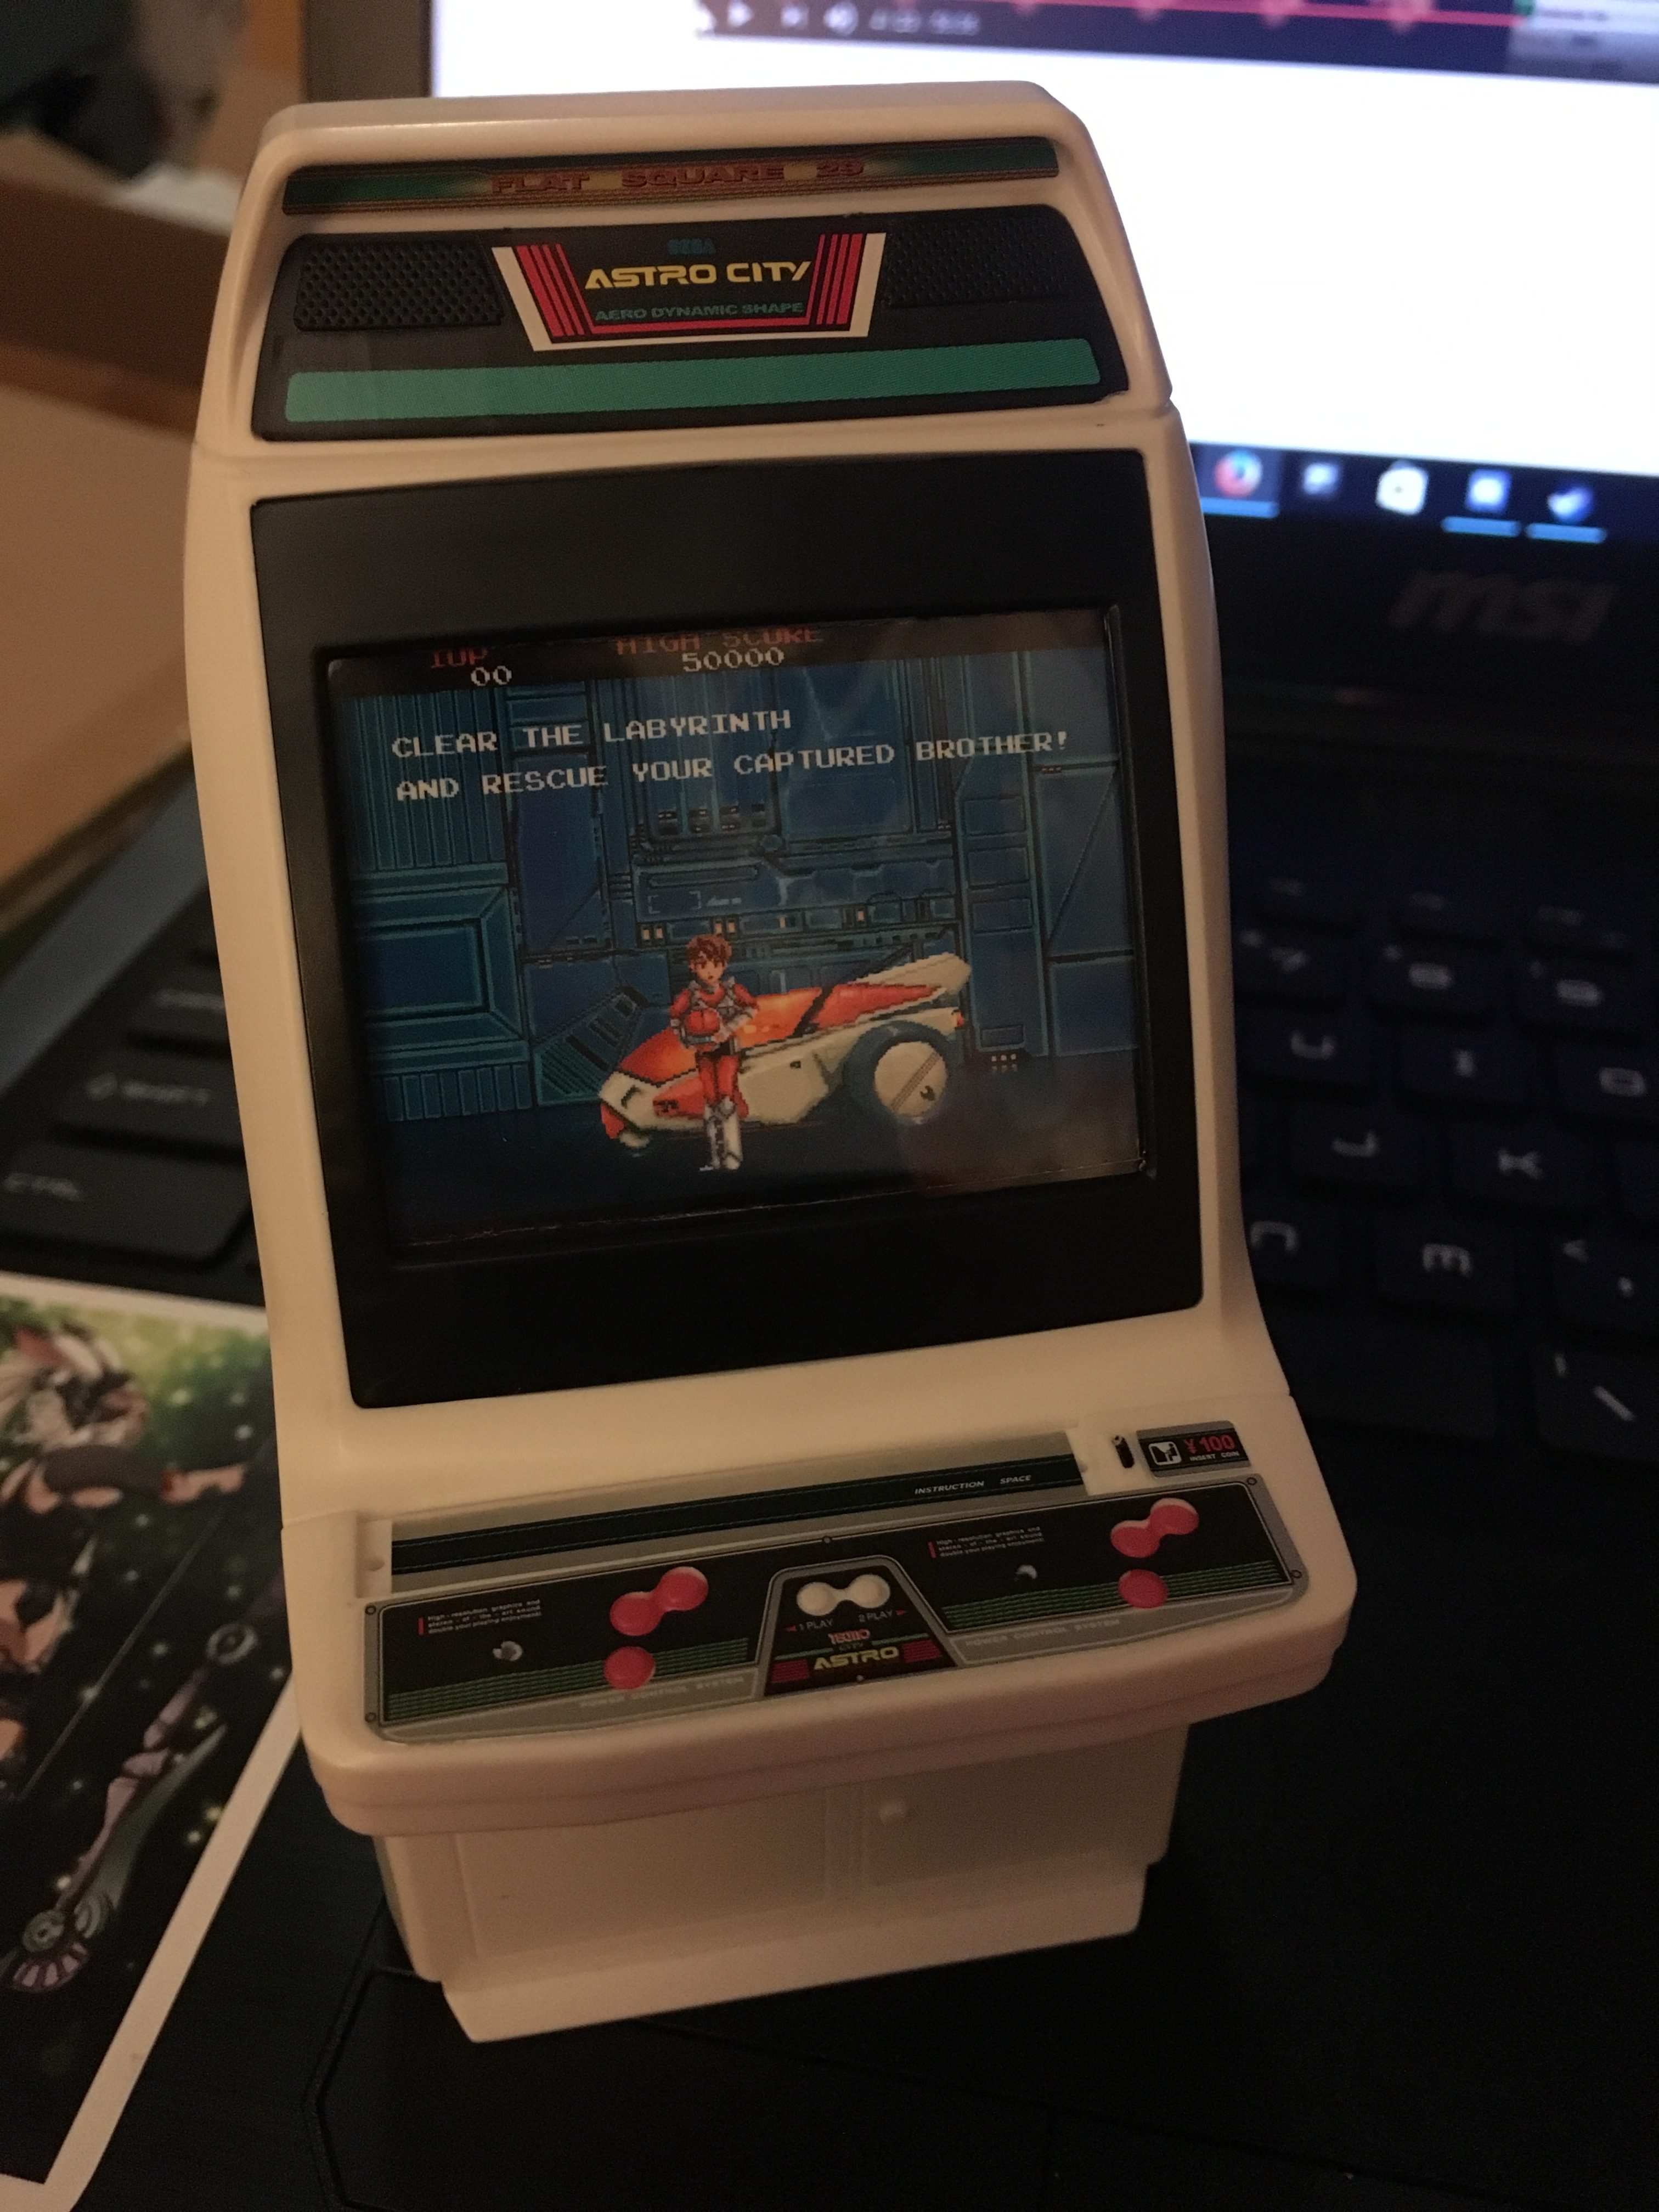
There’s another theory I’ve heard, however. You might not be able to see from the pictures here, but there’s an error on the 2-player control panel. If I link this Japanese blog (which, by the way, showcases a very extensive LED/screen/speaker mod for this), you might be able to see what the problem is.
… Did you catch it? Yep, that’s actually a TECMO logo on the panel instead of a Sega logo. Tecmo actually licensed and sold Astro City cabinets and control panels for a little while, and it seems like Wave used one of their control panels as the model for the decal… but forgot to take the logo off. And as anyone who’s ever dealt with Japanese copyright knows, that can cause problems. I haven’t heard about a mass kit recall, but that wouldn’t be totally out of the question.
As of right now, I can’t really recommend buying these from anywhere, because you’re gonna get horribly gouged. Your best bet, honestly, is to cross your fingers and hope Wave does another run (minus the embarrassing Tecmo gaffe), as they have with their 1/12 scale Viewlix cabinets. Some of you might be willing to drop fifty bucks on this, but I personally hate the feeling that I’m being ripped off by opportunists.
Meanwhile, let’s enjoy
ULTRA-REALISM HIGH-SPEED
EXCITEMENT
and
THRILLS
wonderful!